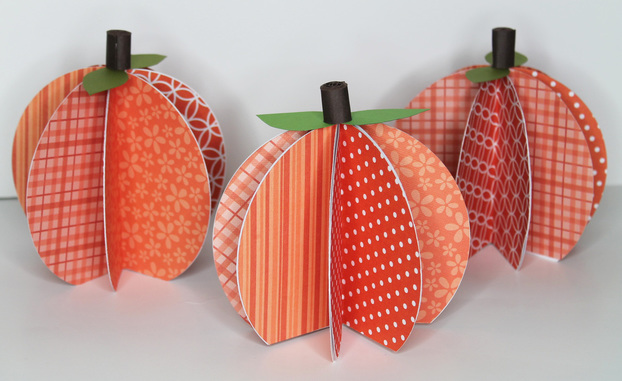
Halloween and Thanksgiving are right around the corner, which means pumpkins and pumpkin spiced items are everywhere. Having pumpkin decorations seems like a necessity for celebrating these festivities. My cousin, Stasi, sent me the link to this craft by Aly Dosdall and I instantly wanted to recreate these cute paper pumpkins for my blog. The 3D element may look intimidating, but it is super easy to accomplish. There are minimal materials needed. These pumpkins can be used for a table centerpiece or as place cards for your family and friend’s Thanksgiving dinner plates.
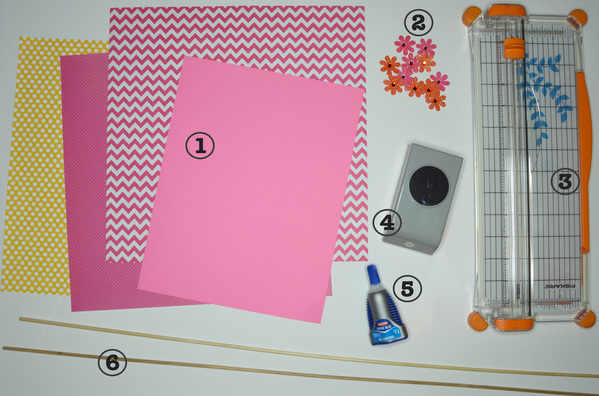
WHAT YOU WILL NEED:
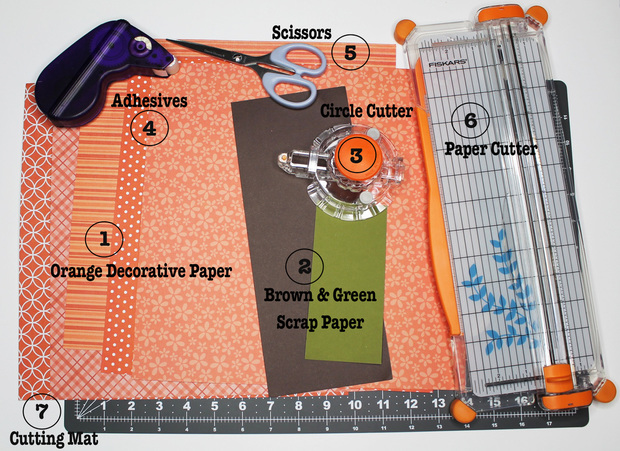
1. Orange decorative paper (2 sheets of each)
[All orange paper is Core Dinations from Joann’s]
2. Brown/green scrap paper
3. Circle cutter
4. Adhesives (not pictured: super glue)
5. Scissors
6. Paper Cutter
7. Cutting Mat
[All orange paper is Core Dinations from Joann’s]
2. Brown/green scrap paper
3. Circle cutter
4. Adhesives (not pictured: super glue)
5. Scissors
6. Paper Cutter
7. Cutting Mat
WHAT YOU Do:
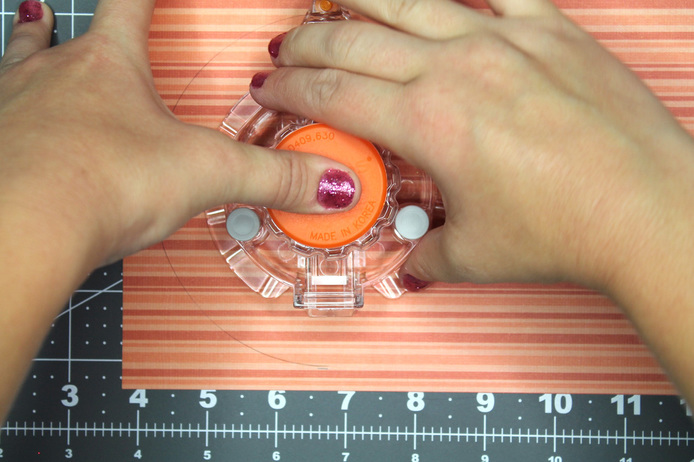
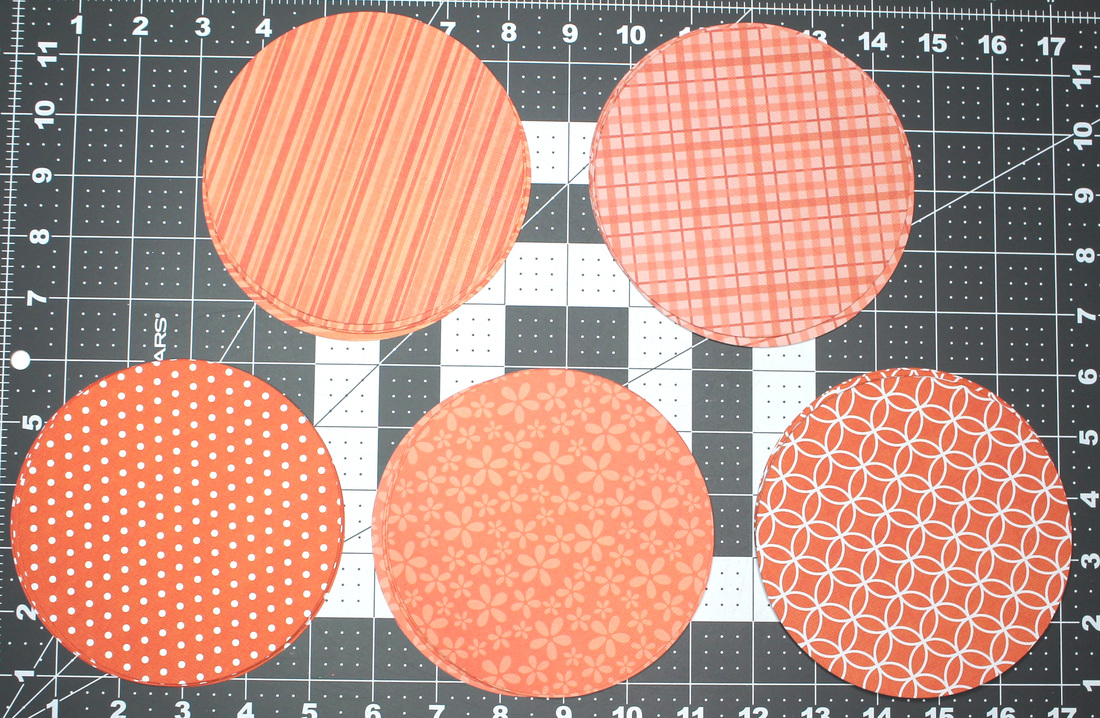
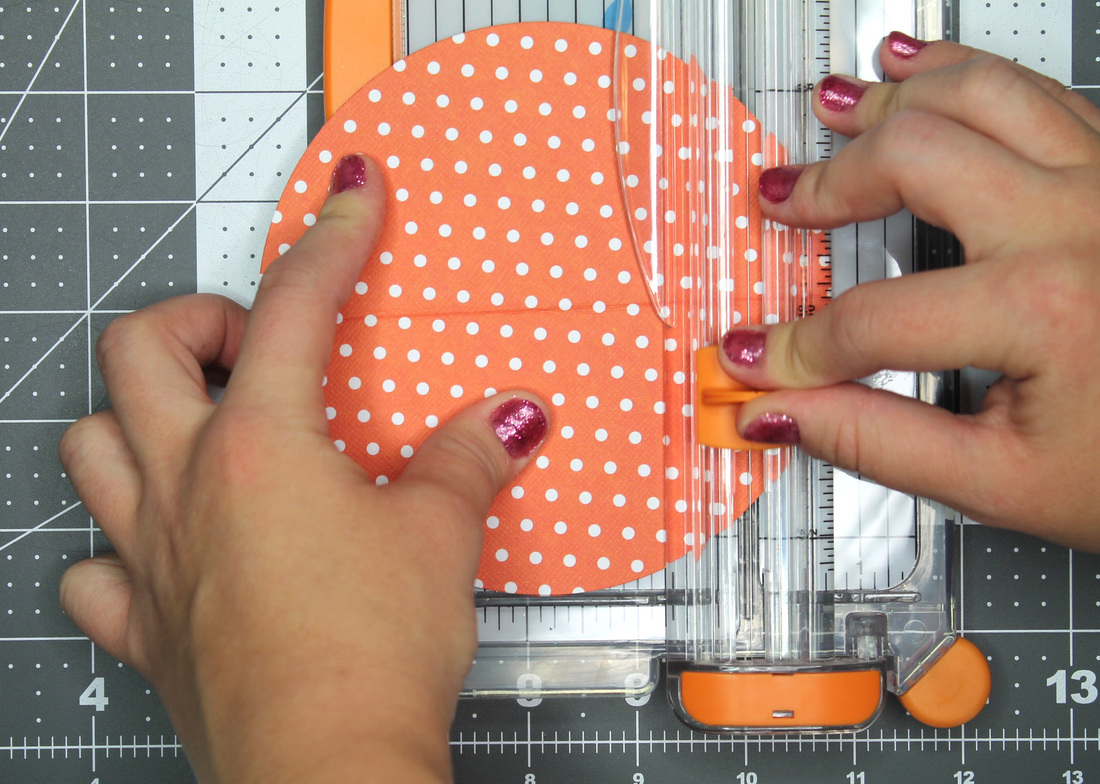
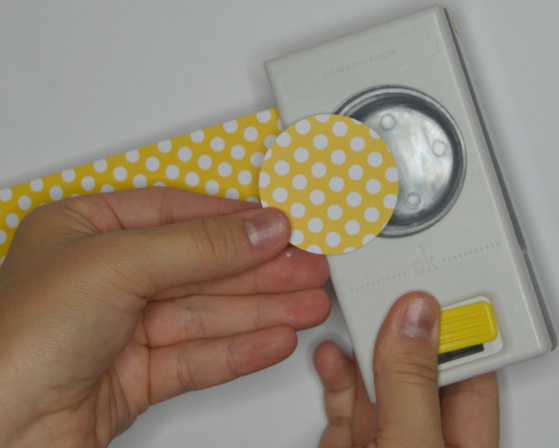
1. Set circle cutter to 5” and cut 4 circles out of each piece of card stock. All together you will have 40 circles which makes 5 pumpkins.
[To create size variation with pumpkins, set circle cutter to different sizes]
[To create size variation with pumpkins, set circle cutter to different sizes]
 |  |
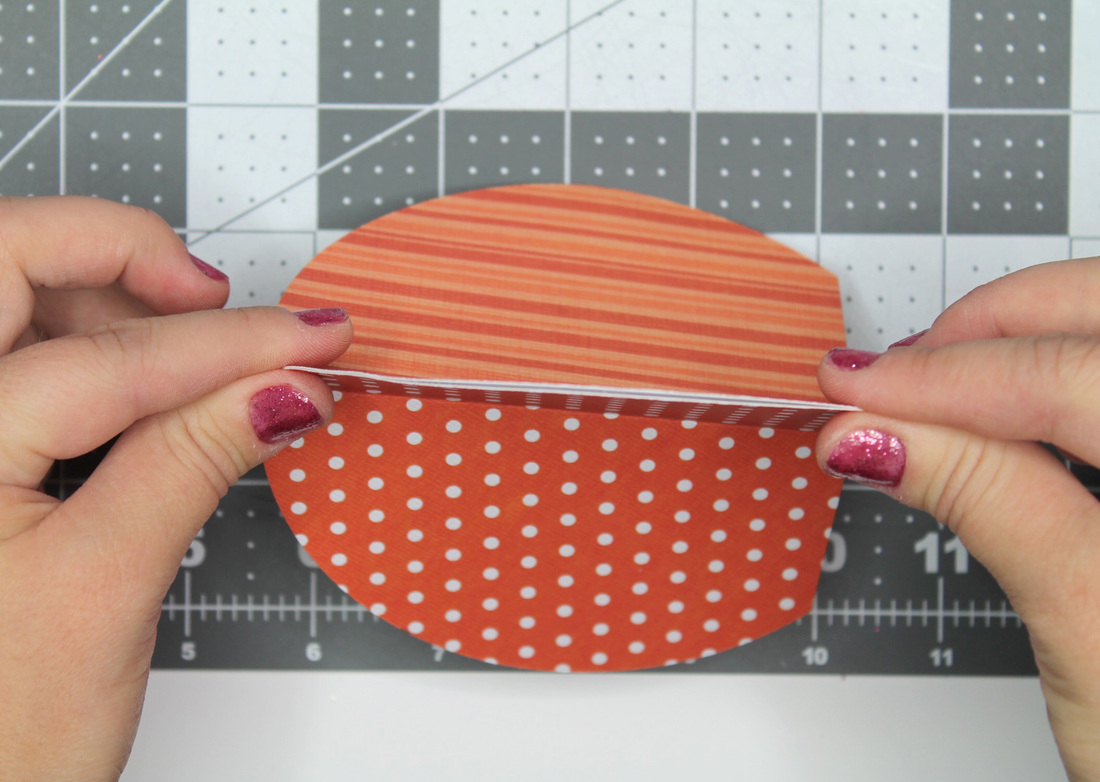
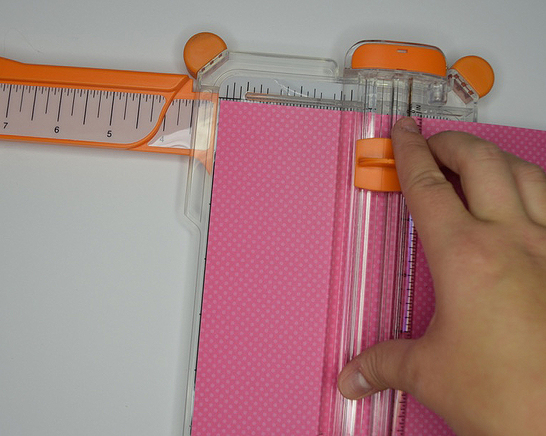
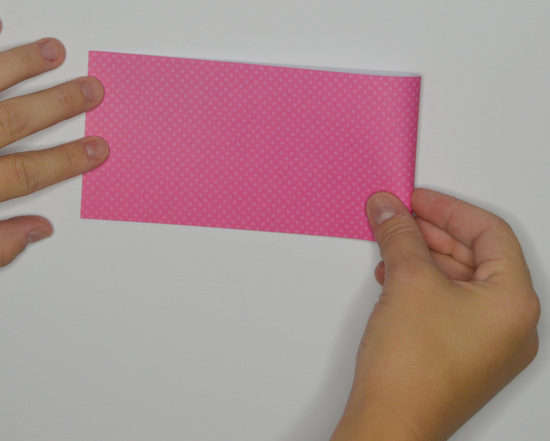
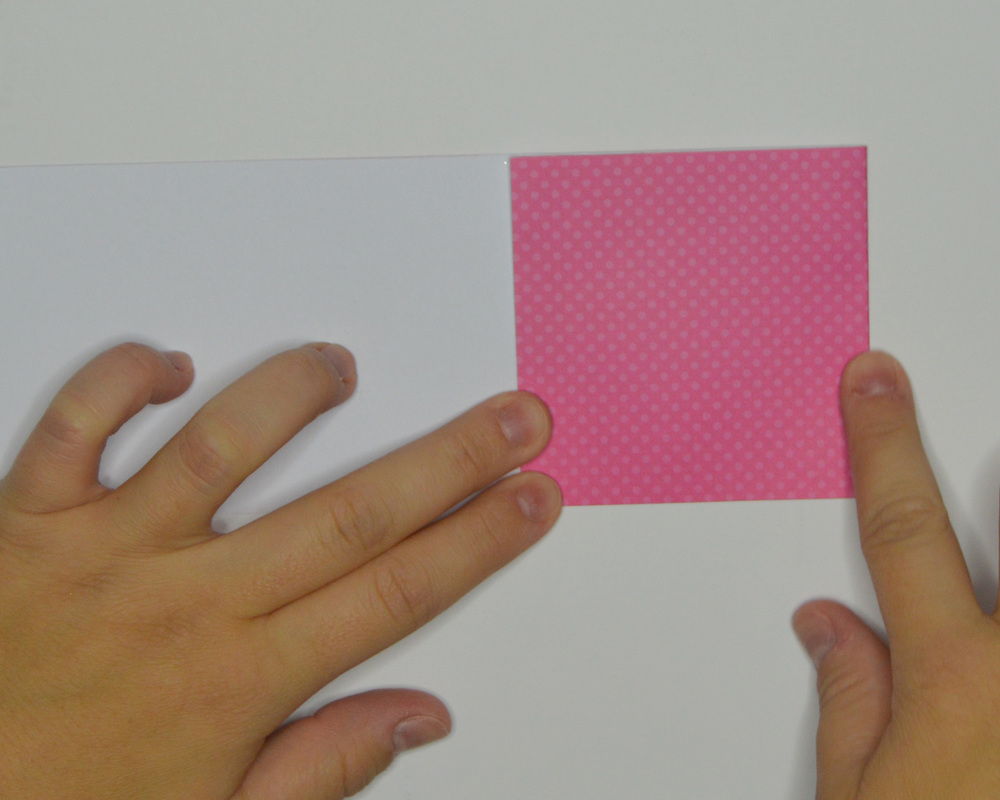
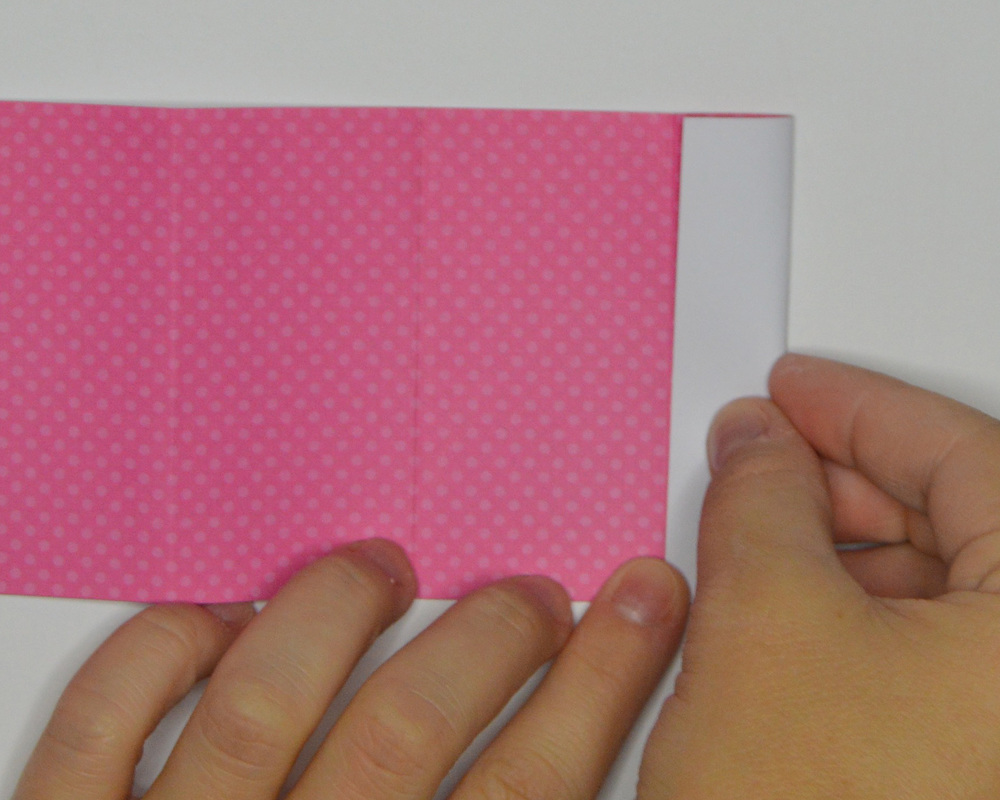
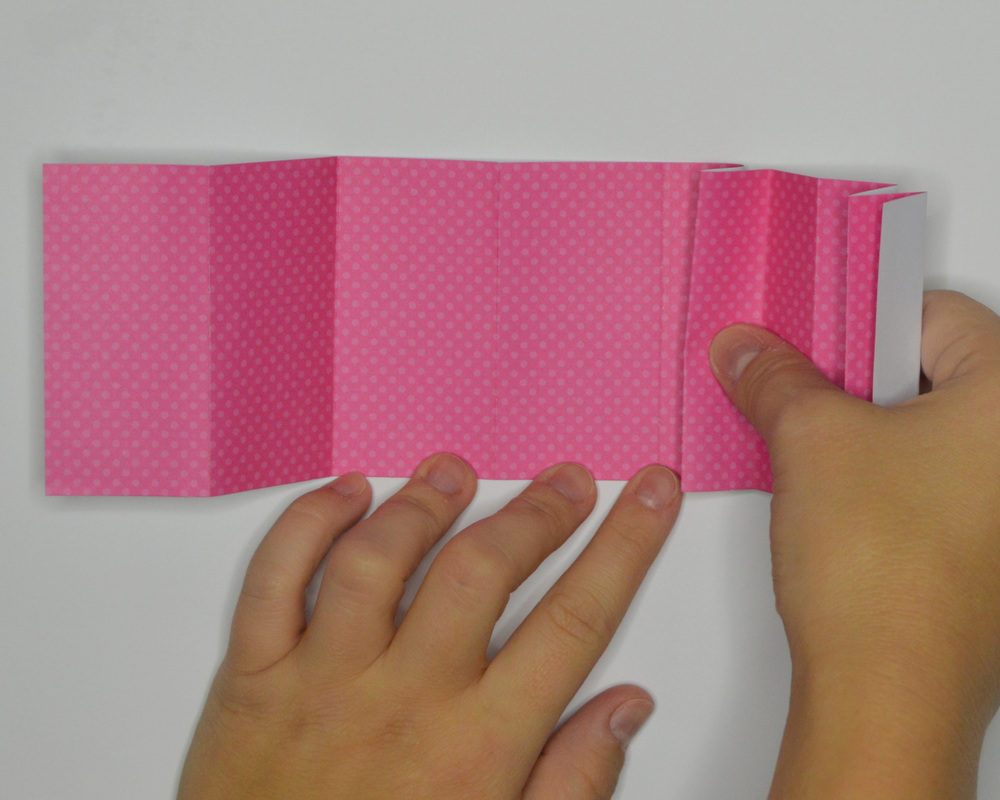
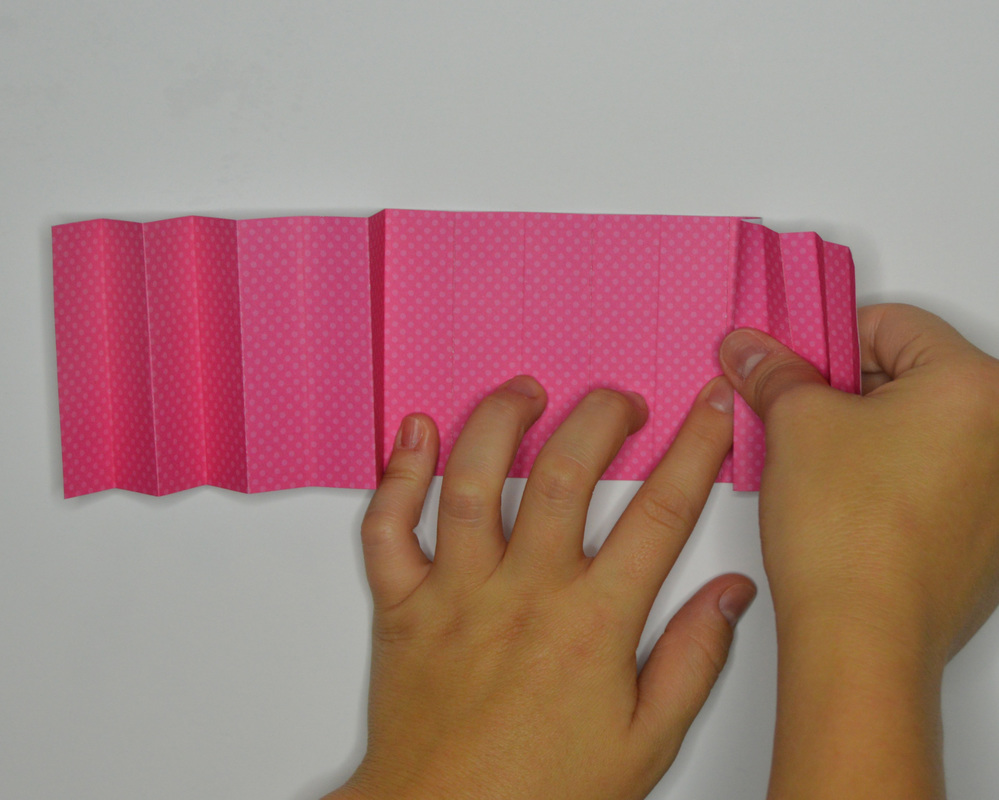
2. Fold all the circles in half with the pattern on the inside. If using thicker cardstock like I am, a ruler will help get a crisp fold.
 |  |
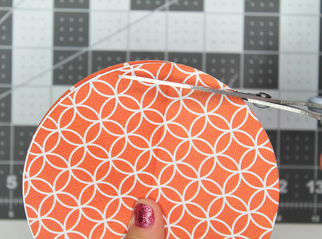
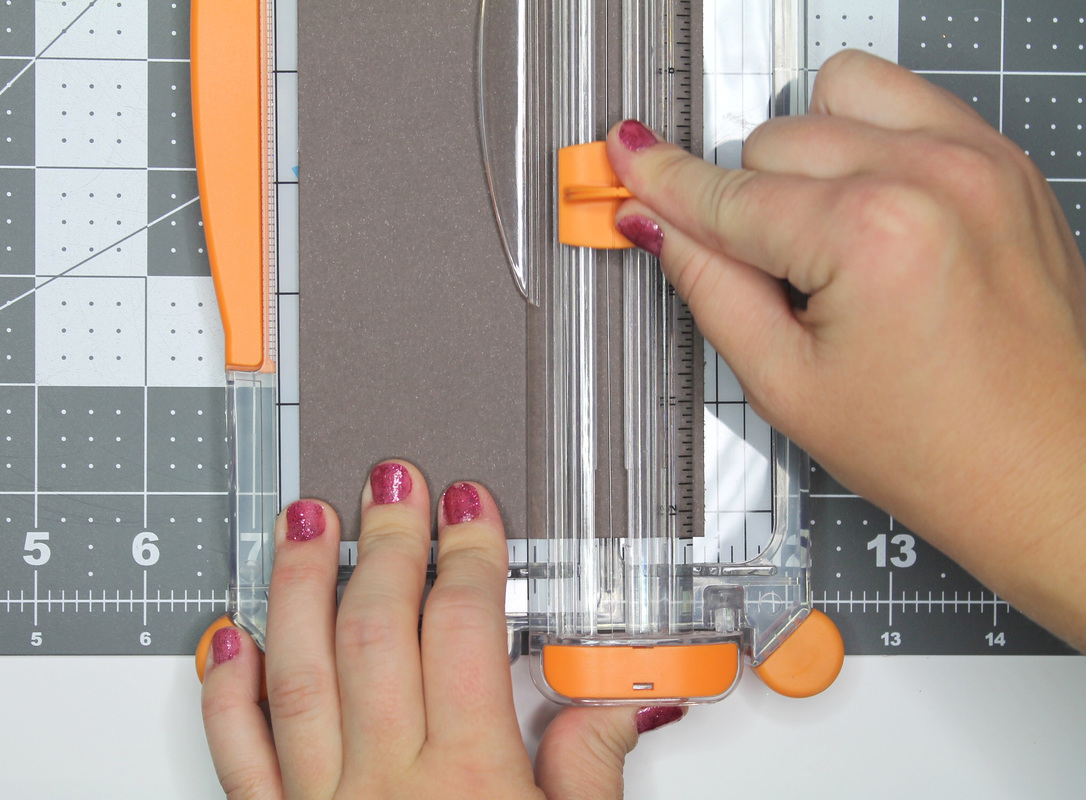
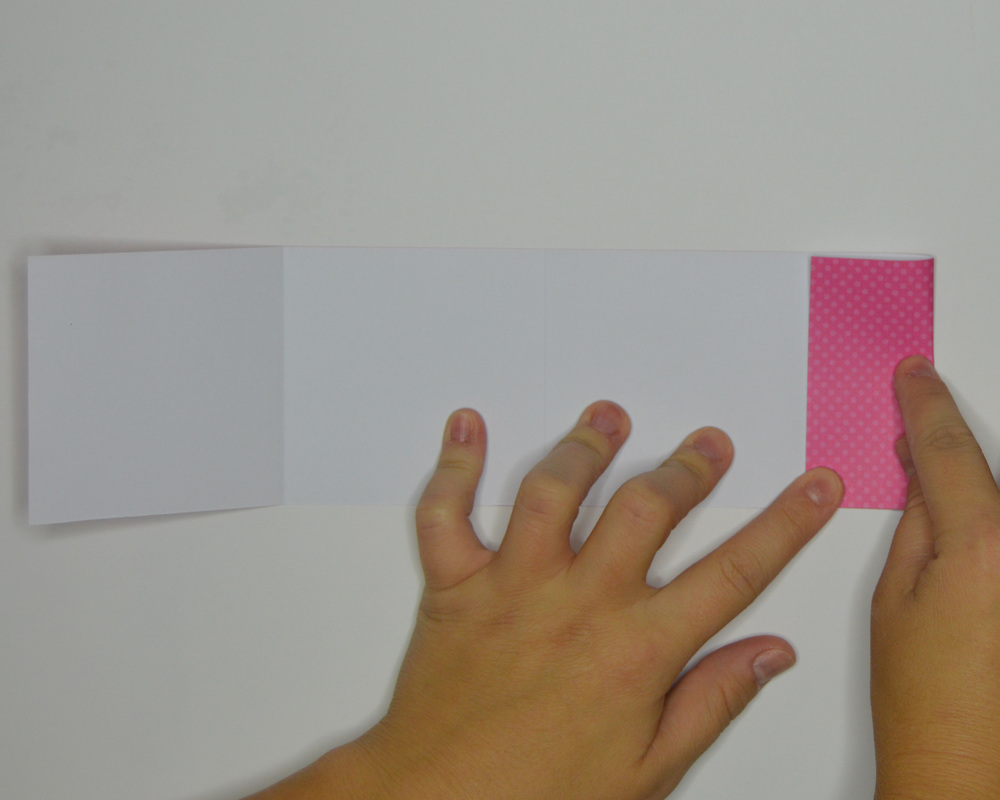
3. Cut ¾” off each folded circle, so the pumpkins will be able to stand alone on a surface. If you want the pumpkins to vary in height, cut different amounts off the bottom. You can also assemble the pumpkin, then cut all the ends off the circles at the same time to ensure for a more accurate cut.
 |  |
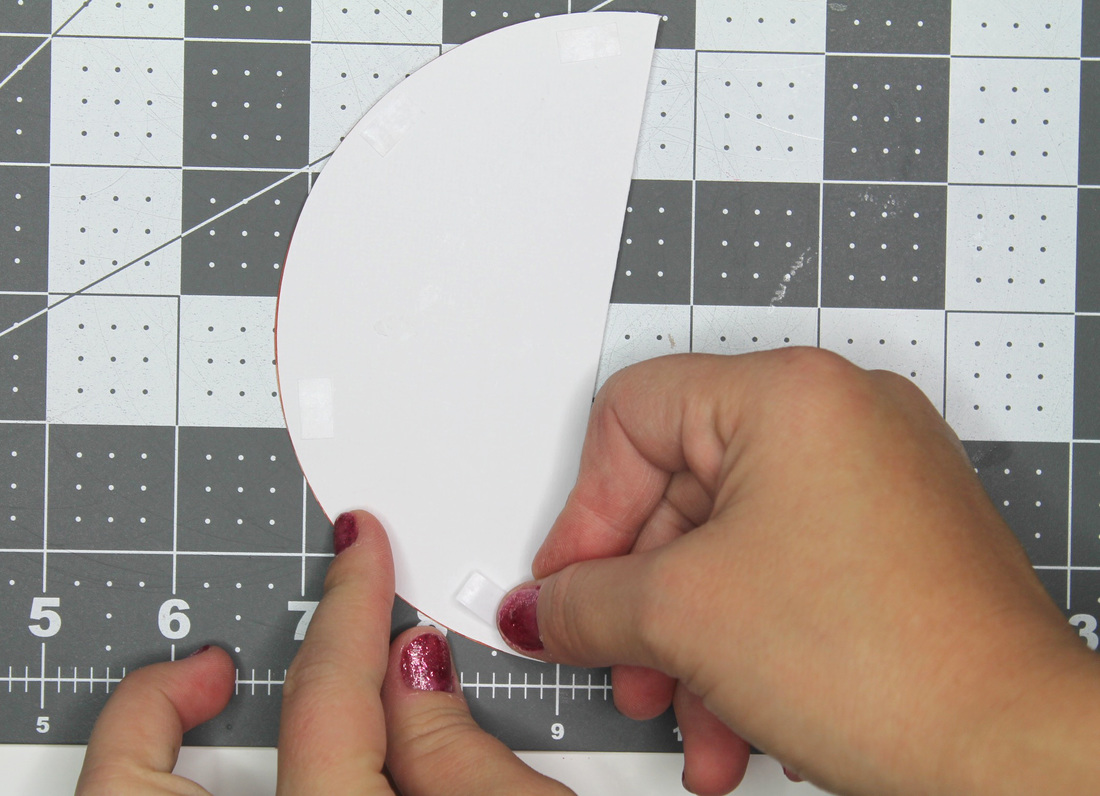
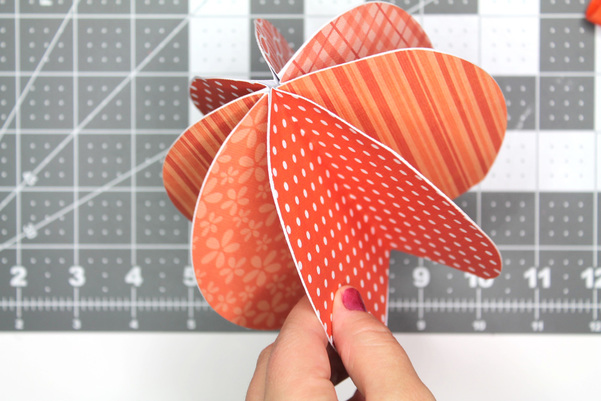
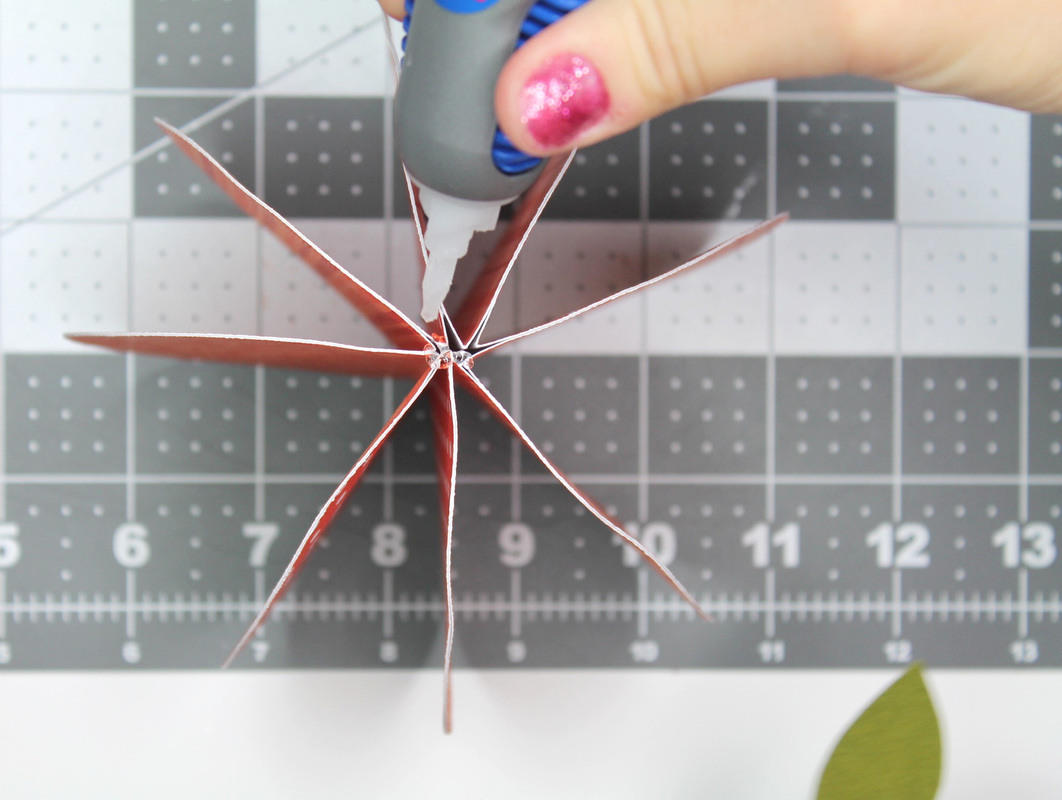
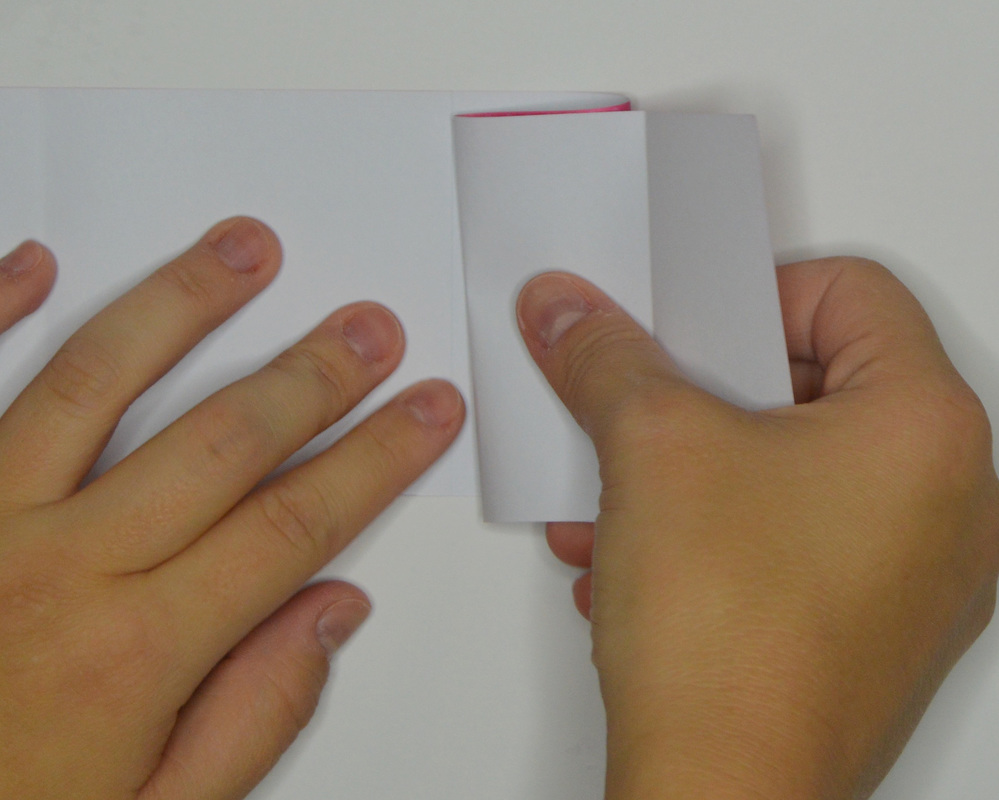
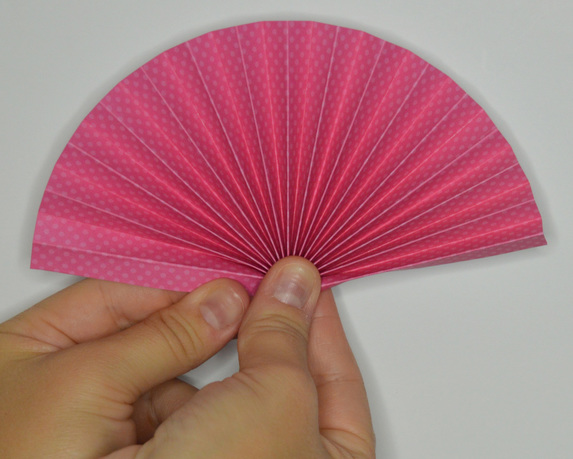
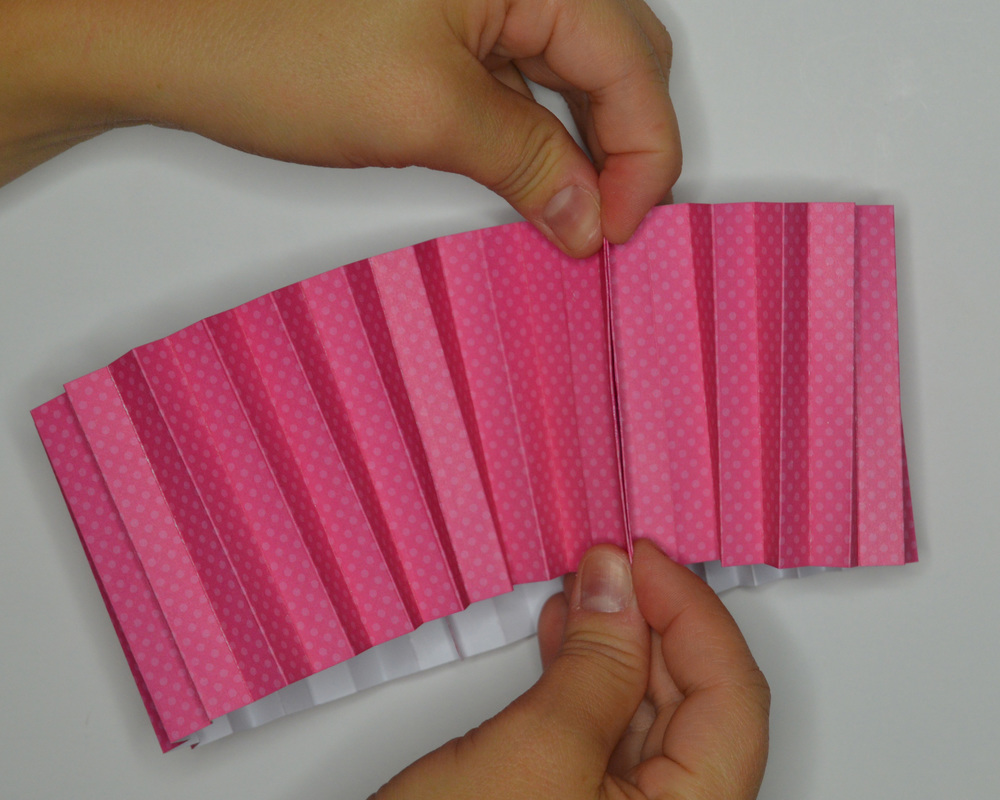
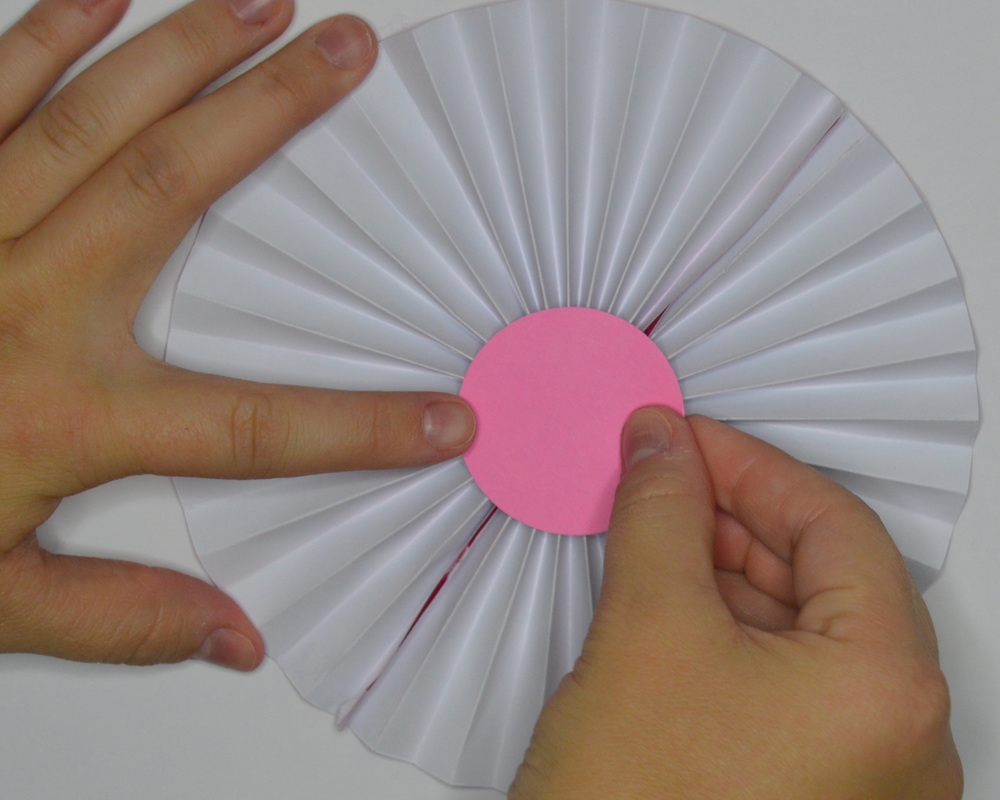
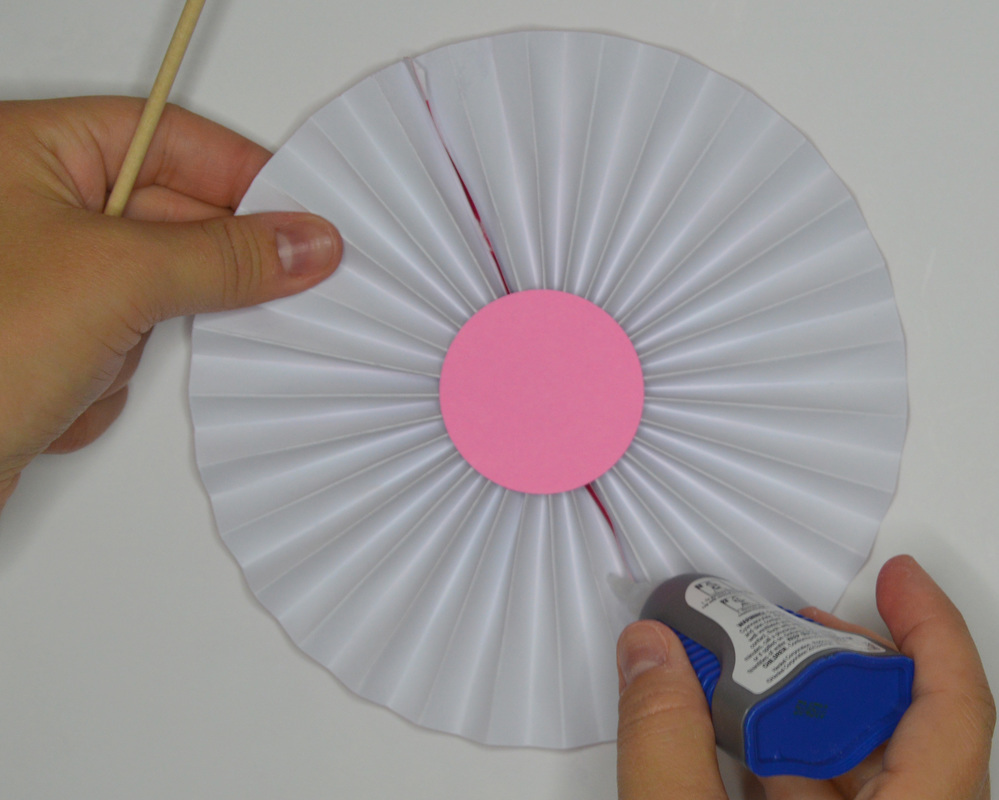
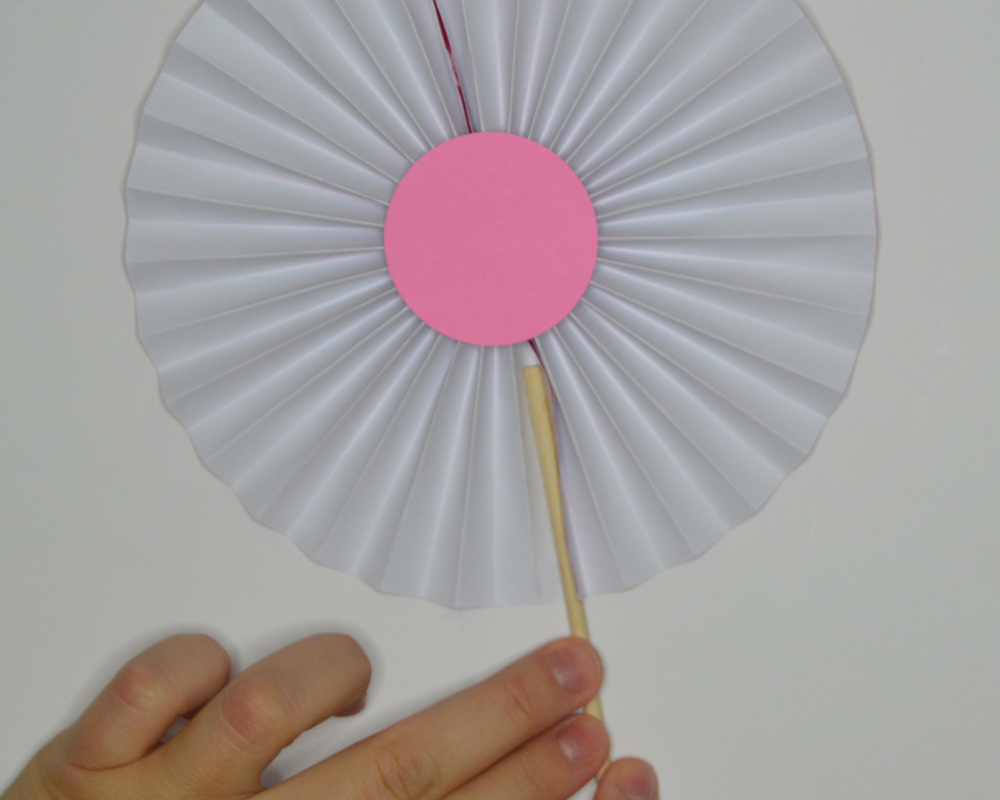
4. To assemble the pumpkin, take a folded circle and put adhesives on the white side then match it up with another folded circle. Repeat until the pumpkin is complete with 8 folded circles.
[I used adhesives, clear glue and tape to see which would look the best. They all turned out pretty similar, except the tape did create more gaps between the folds]
[I used adhesives, clear glue and tape to see which would look the best. They all turned out pretty similar, except the tape did create more gaps between the folds]
 |  |
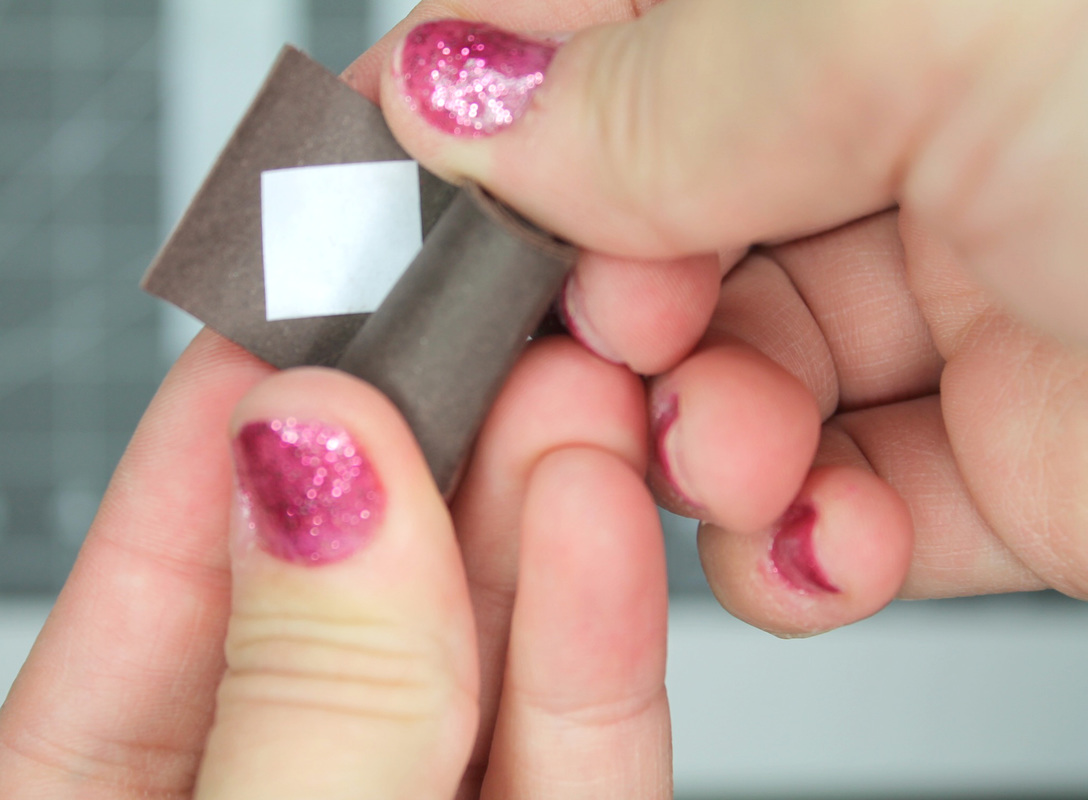
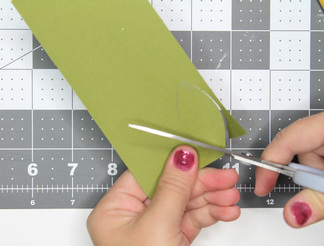
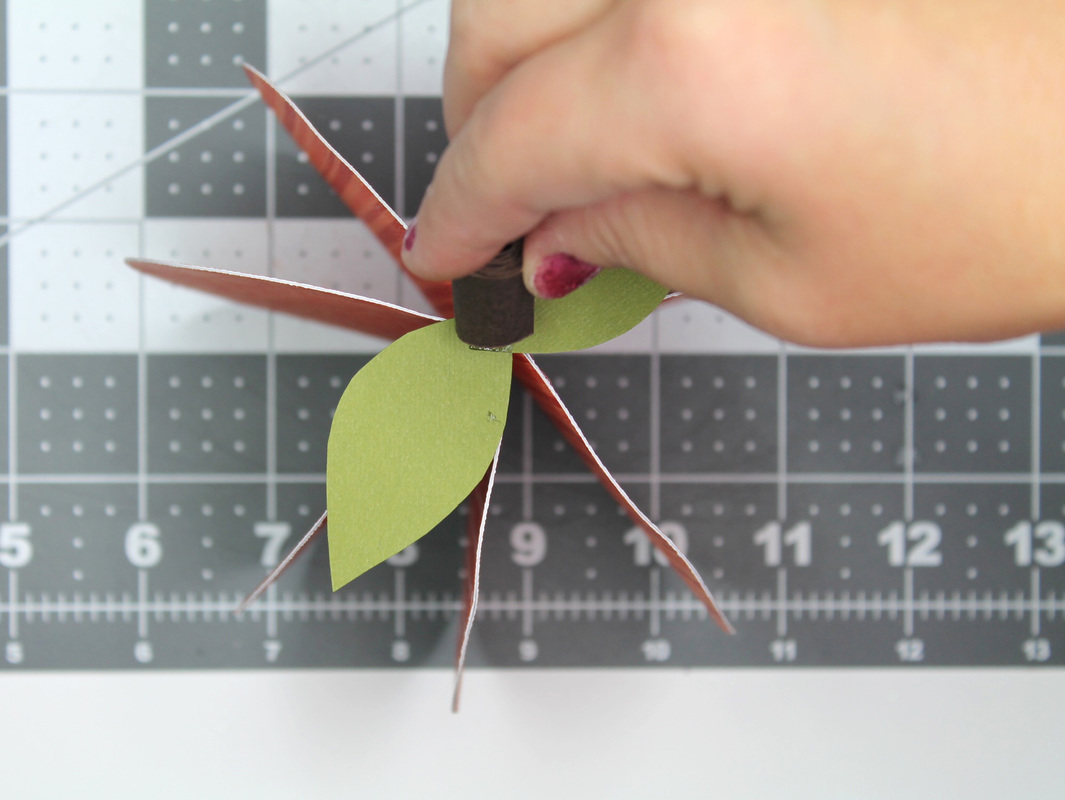
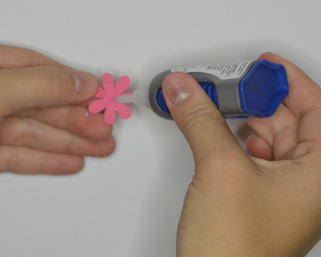
5. Cut the brown strip to 3/4” then roll it up and attach an adhesive to the end. Draw two leaves on the green scrap paper and use scissors to cut them out.
  |   |
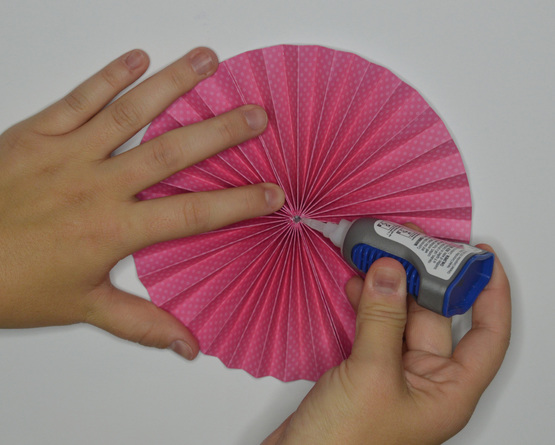
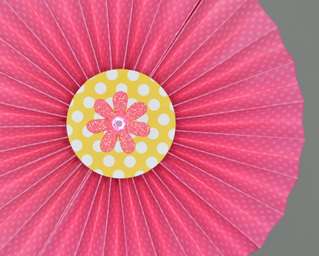
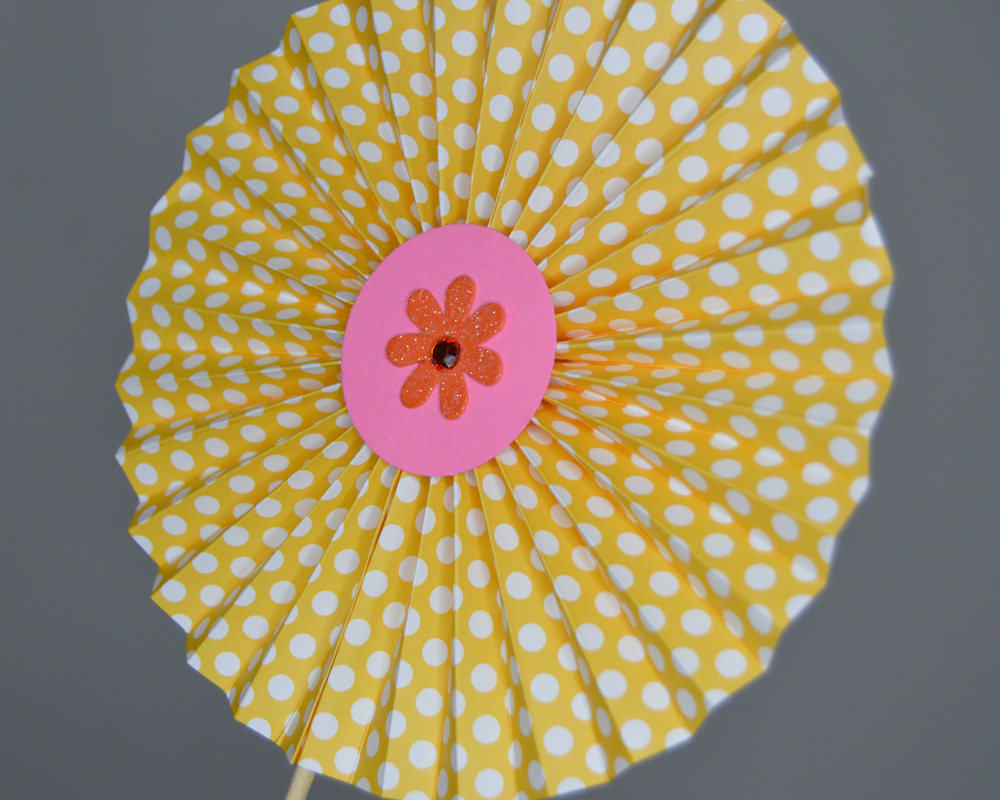
6. Use superglue to attach leaves and stump to the top of the pumpkin. Hold until it doesn’t come apart. You might need to put superglue at the bottom of the pumpkin to hold it together a little better as well.
 |  |
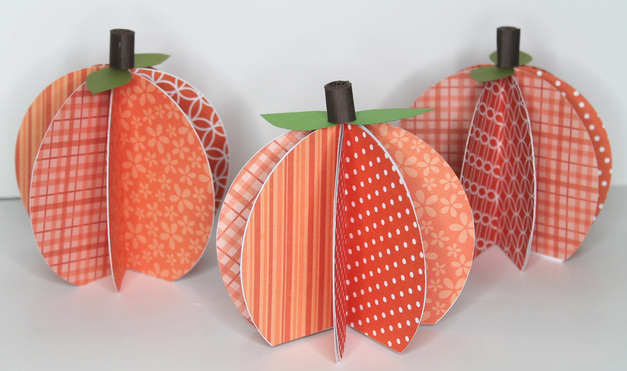
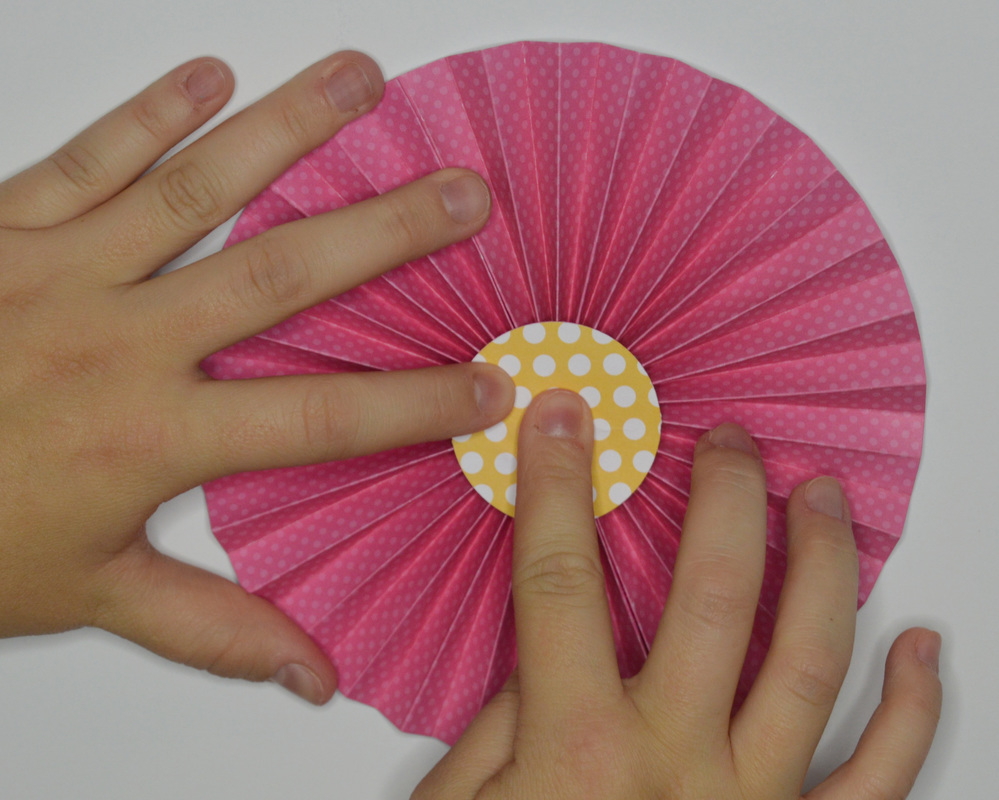
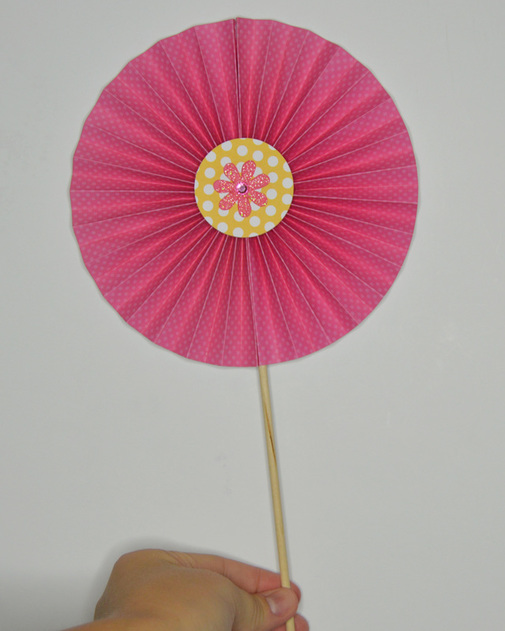
In just about 30 minutes, you will have five 3D paper pumpkins. These pumpkins decorations are really quick and easy to make and the final result is super cute!
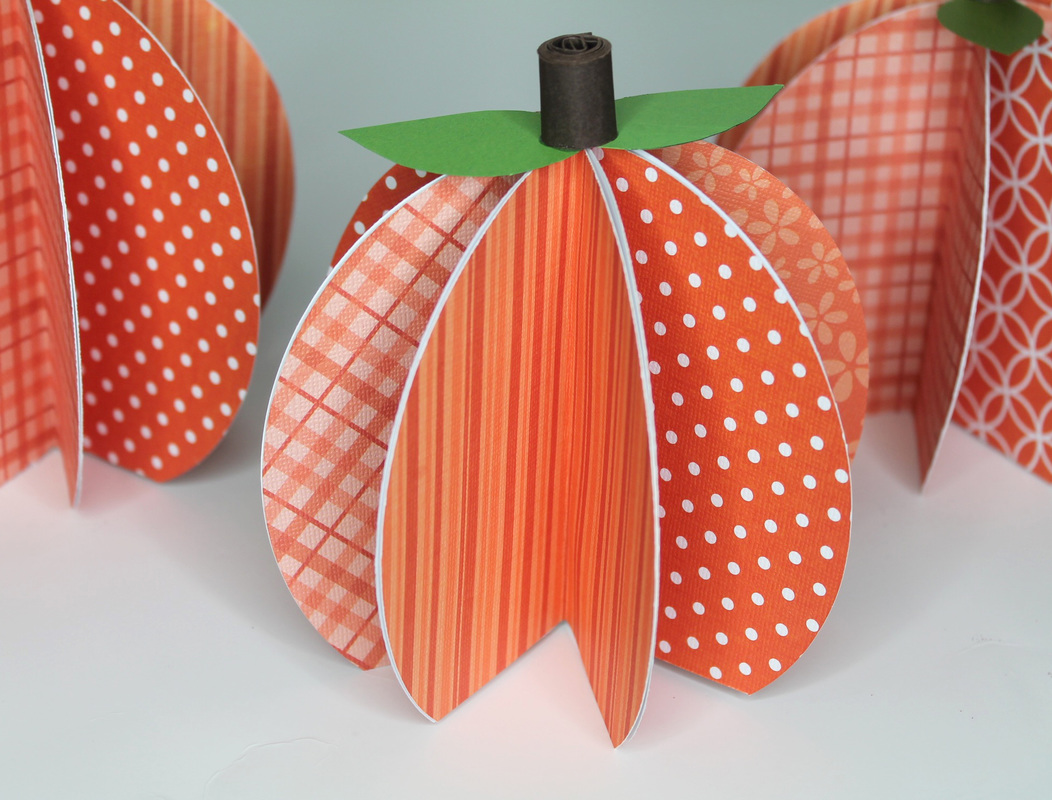 | 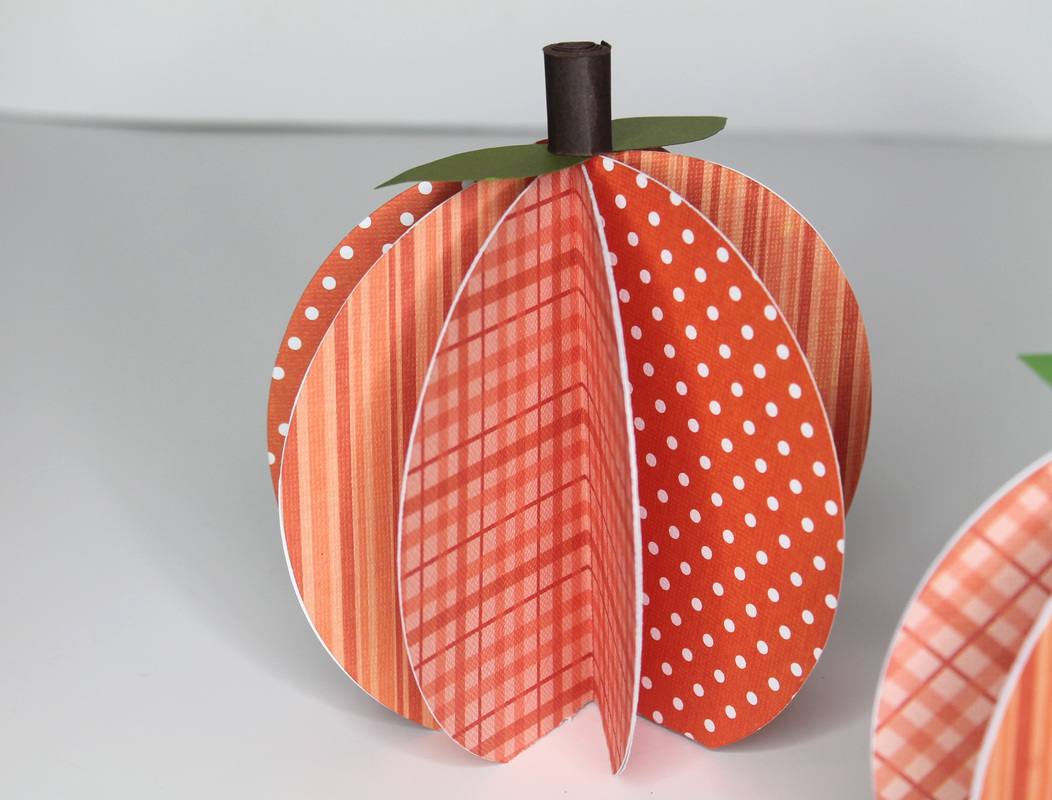 |
The best way to make a pumpkin last is to make it out of paper, so I hope you try this craft and enjoy all your pumpkin festivities!


 RSS Feed
