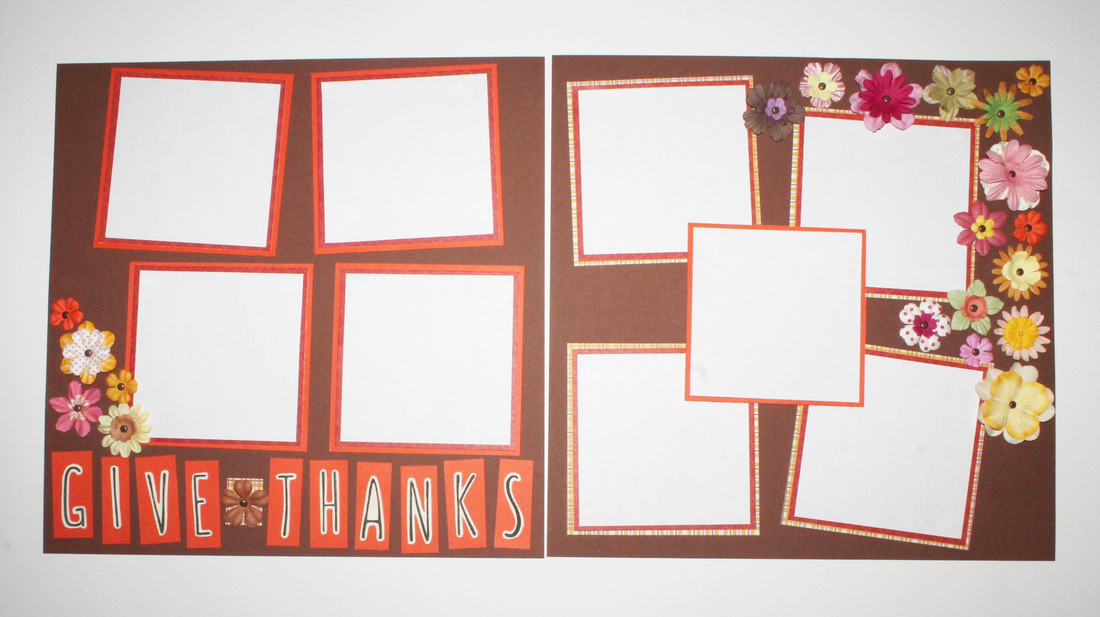
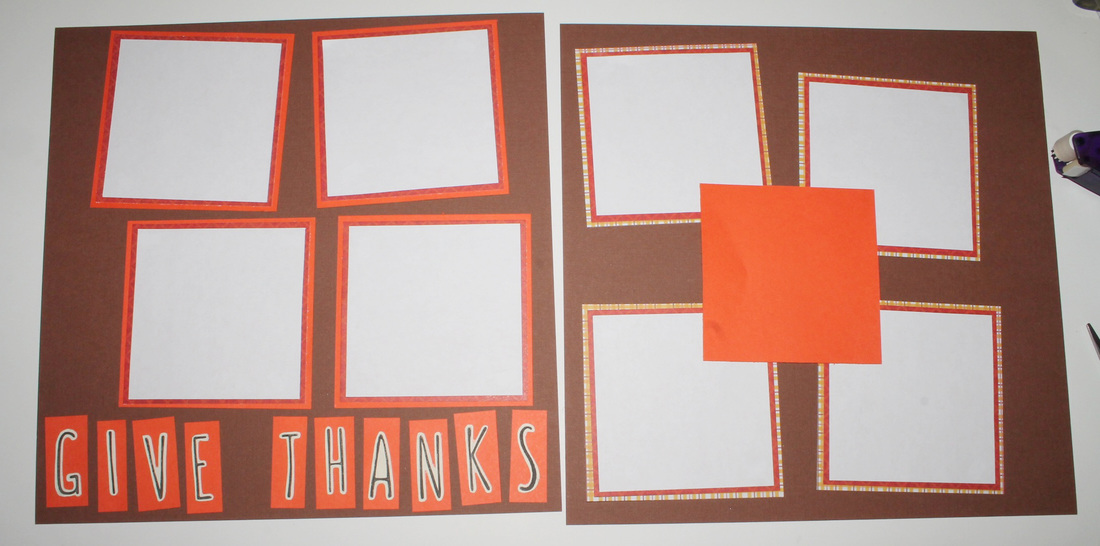
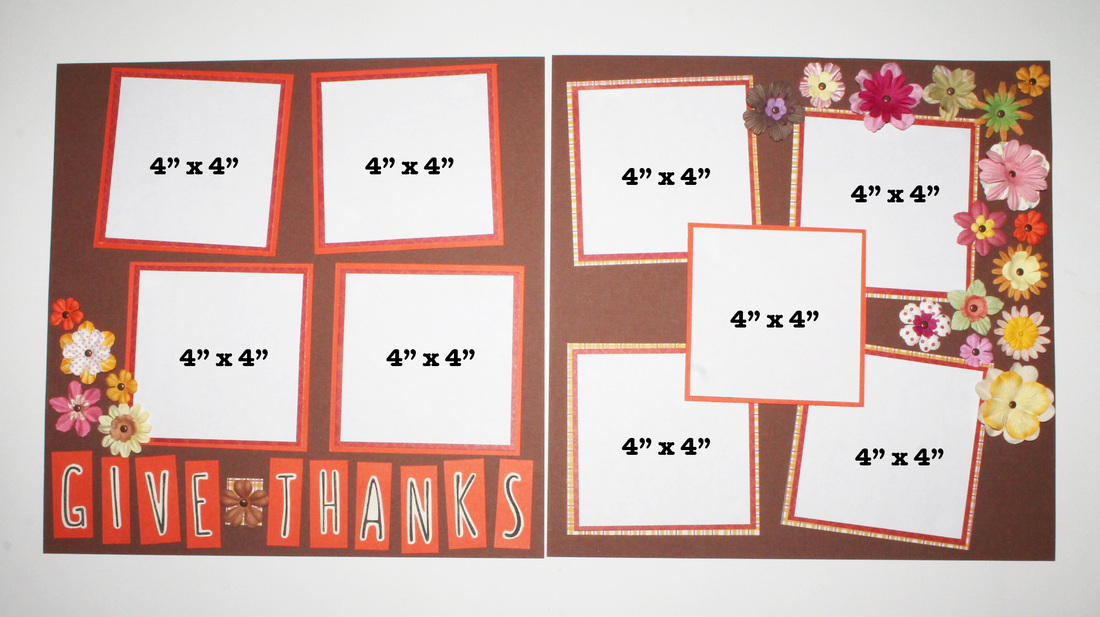
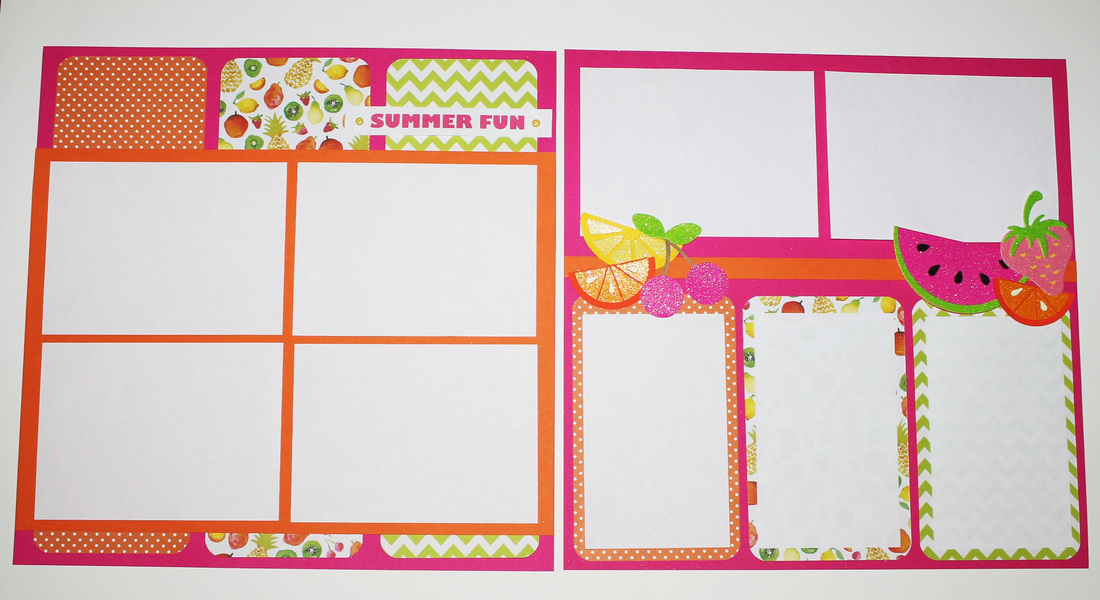
This Thanksgiving layout combines minimal paper and lots of flowers to accent square photos. If I use several embellishments, I like to keep the background and accent paper subtle to emphasize the decor. I typically print my photos at the standard size 4" x 6" but this layout combines nine 4" x 4" squares. You can either resize and print your photos to the 4" x 4" square size or cut down standard size 4" x 6" images. This layout didn't require much time, so I hope you give it a try!
What you will need:
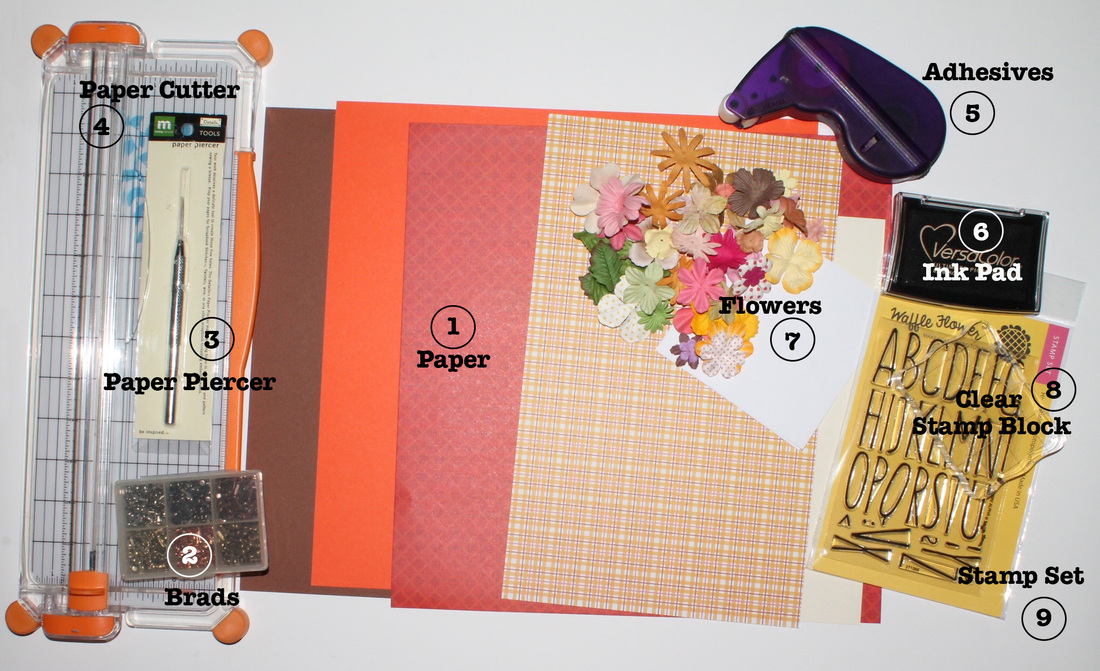
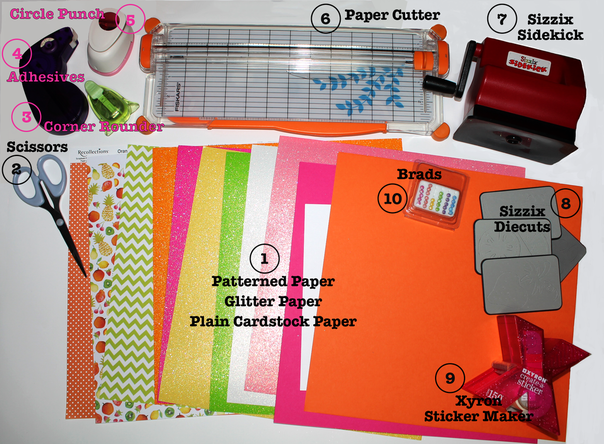
1. Paper
Solid brown, orange, cream paper - Paper Studio - Hobby Lobby
Orange patterned paper - Cloud 9 Design seasonal paper pack - Hobby Lobby
Yellow plaid paper - KI Memories Classic Prints paper pack - Hobby Lobby
2. Brads
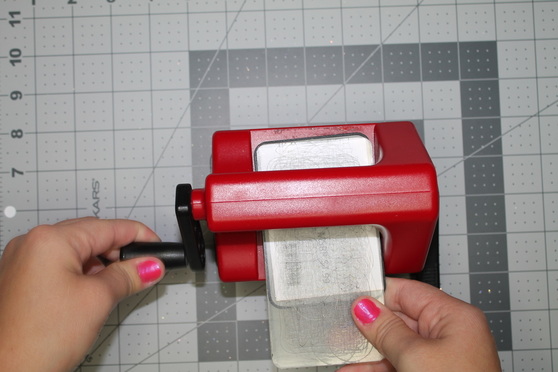
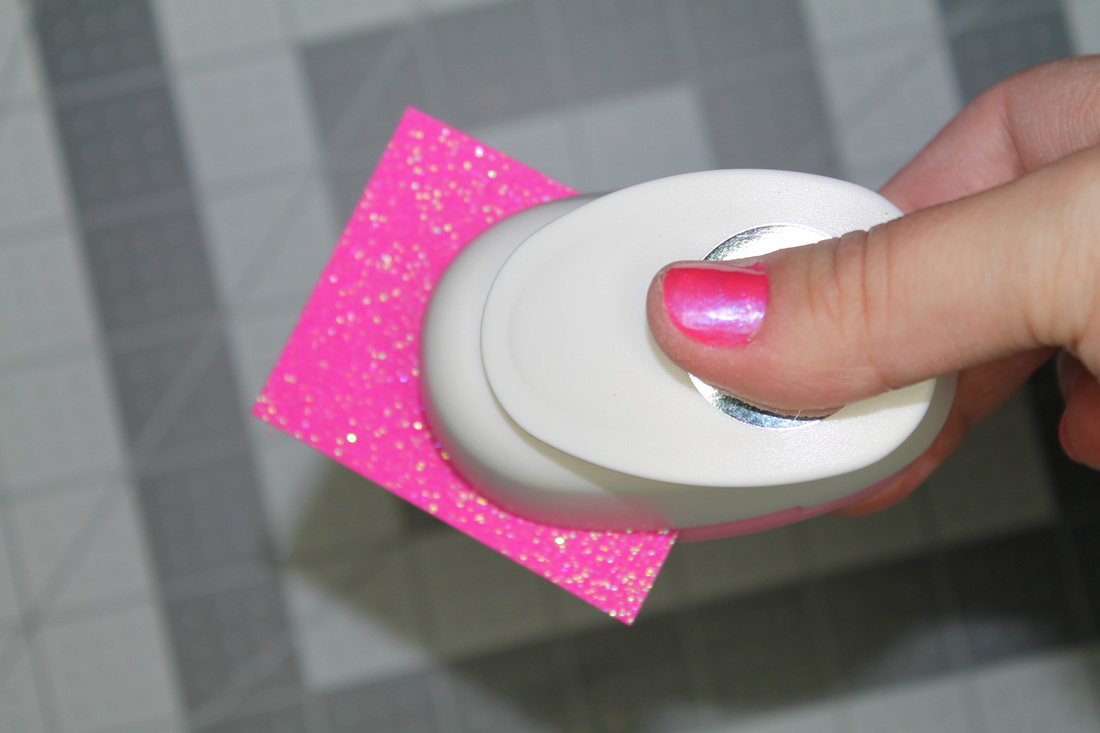
3. Paper Piercer
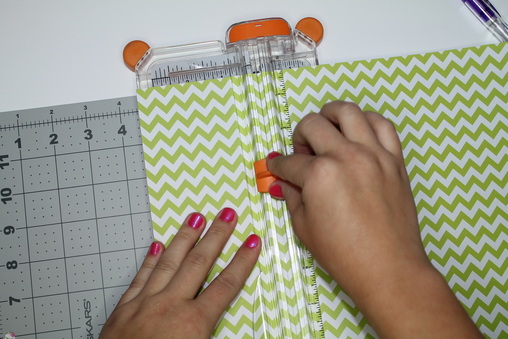
4. Paper Cutter
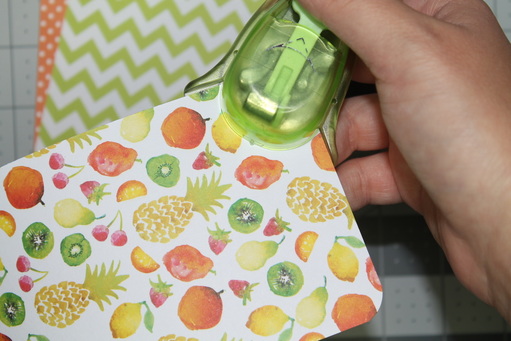
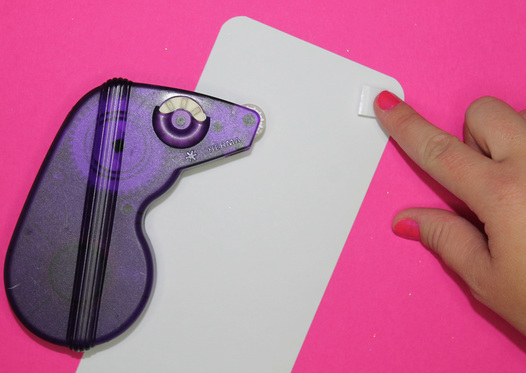
5. Adhesives
6. VersaColor black ink pad
7. Prima Flowers - Botanical Mix
8. Clear Stamp Block
9. Waffle Flower Alphabet Stamp Set
(not pictured)
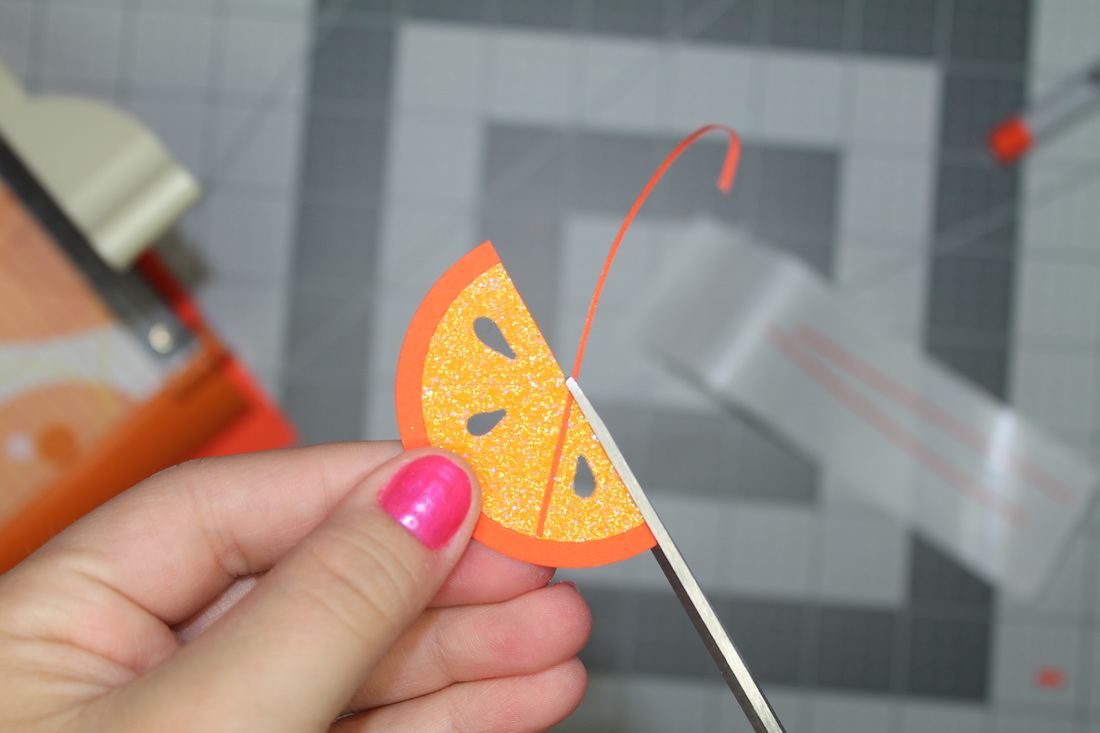
*Scissors
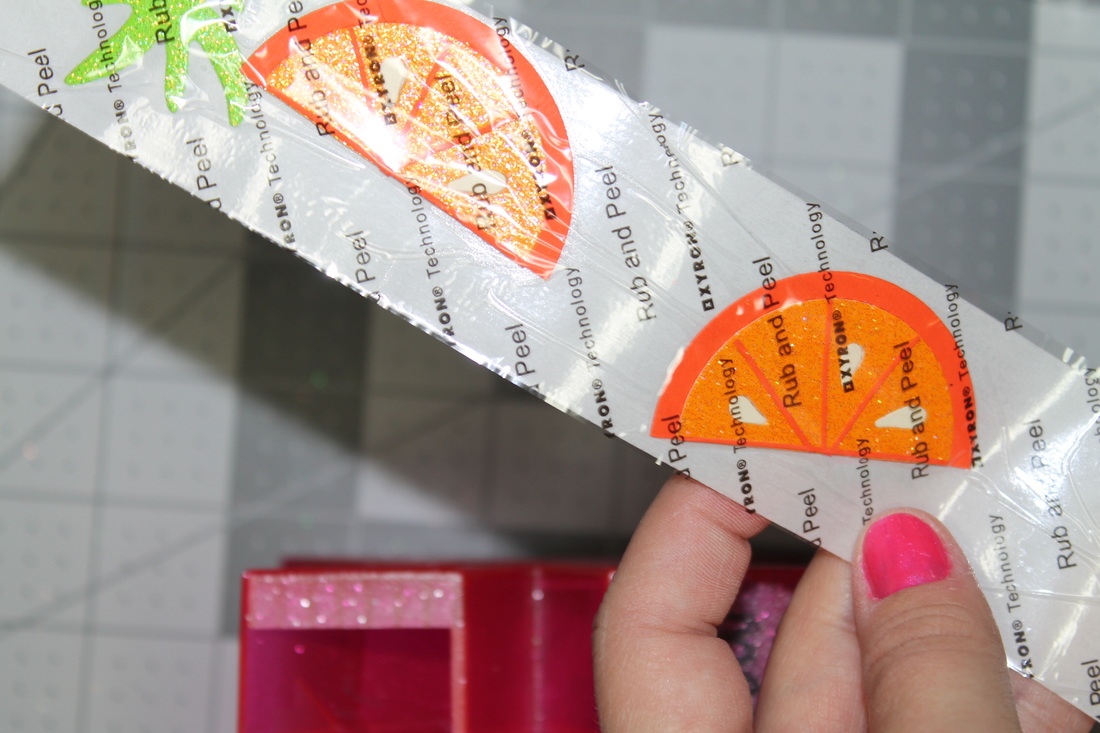
*Xyron sticker maker
Solid brown, orange, cream paper - Paper Studio - Hobby Lobby
Orange patterned paper - Cloud 9 Design seasonal paper pack - Hobby Lobby
Yellow plaid paper - KI Memories Classic Prints paper pack - Hobby Lobby
2. Brads
3. Paper Piercer
4. Paper Cutter
5. Adhesives
6. VersaColor black ink pad
7. Prima Flowers - Botanical Mix
8. Clear Stamp Block
9. Waffle Flower Alphabet Stamp Set
(not pictured)
*Scissors
*Xyron sticker maker
what you do:
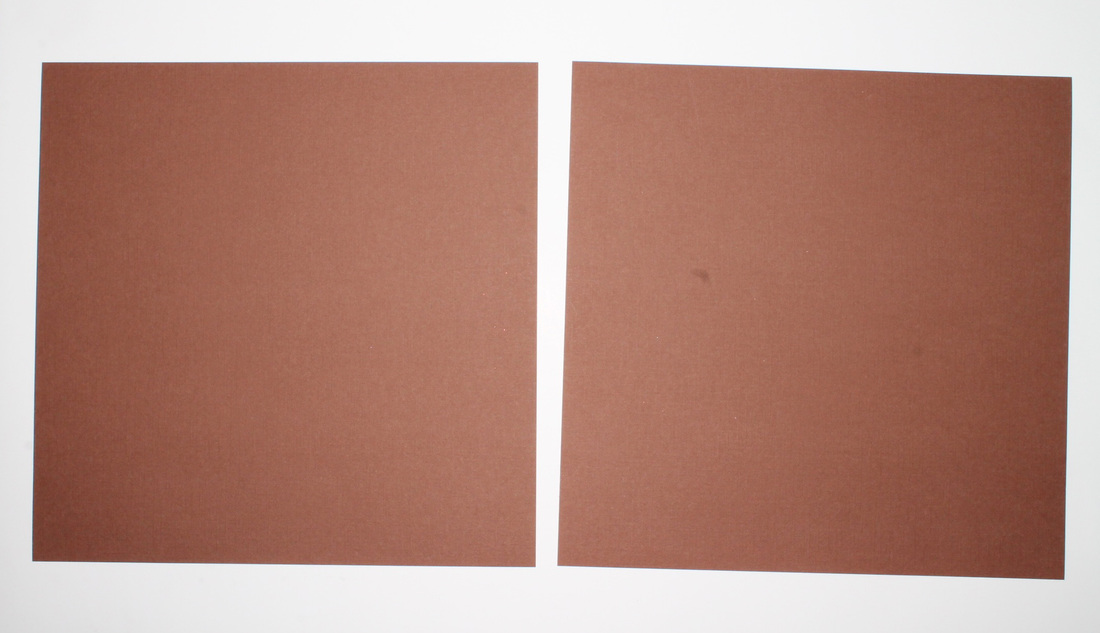
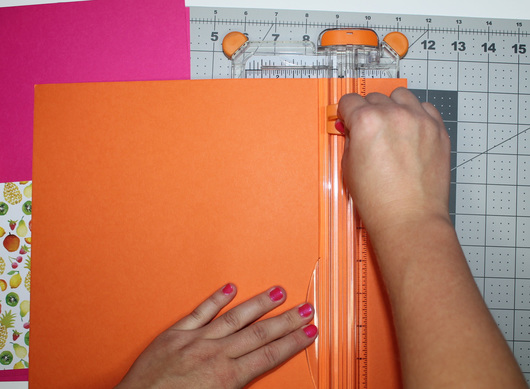
1. Start with your base, two 12" x 12" pieces of brown paper
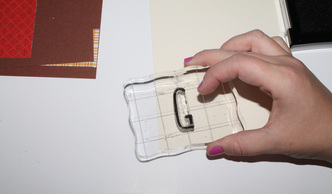
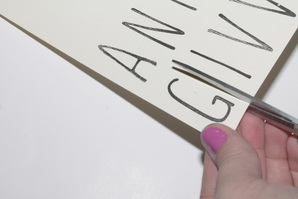
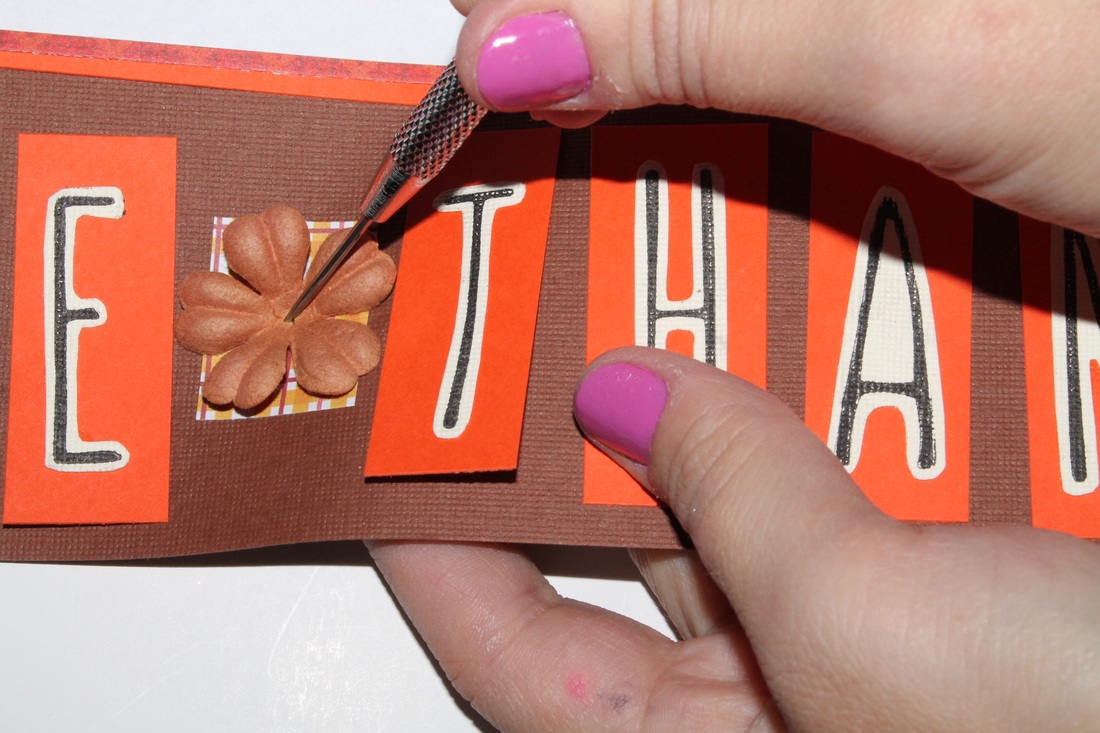
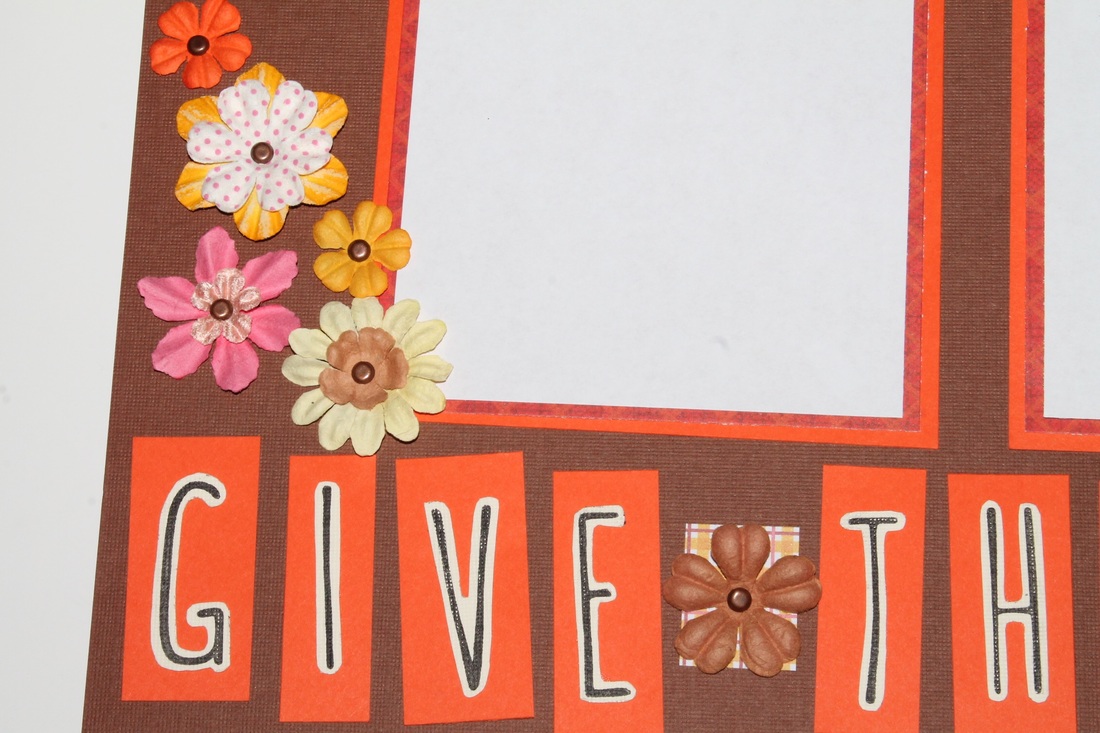
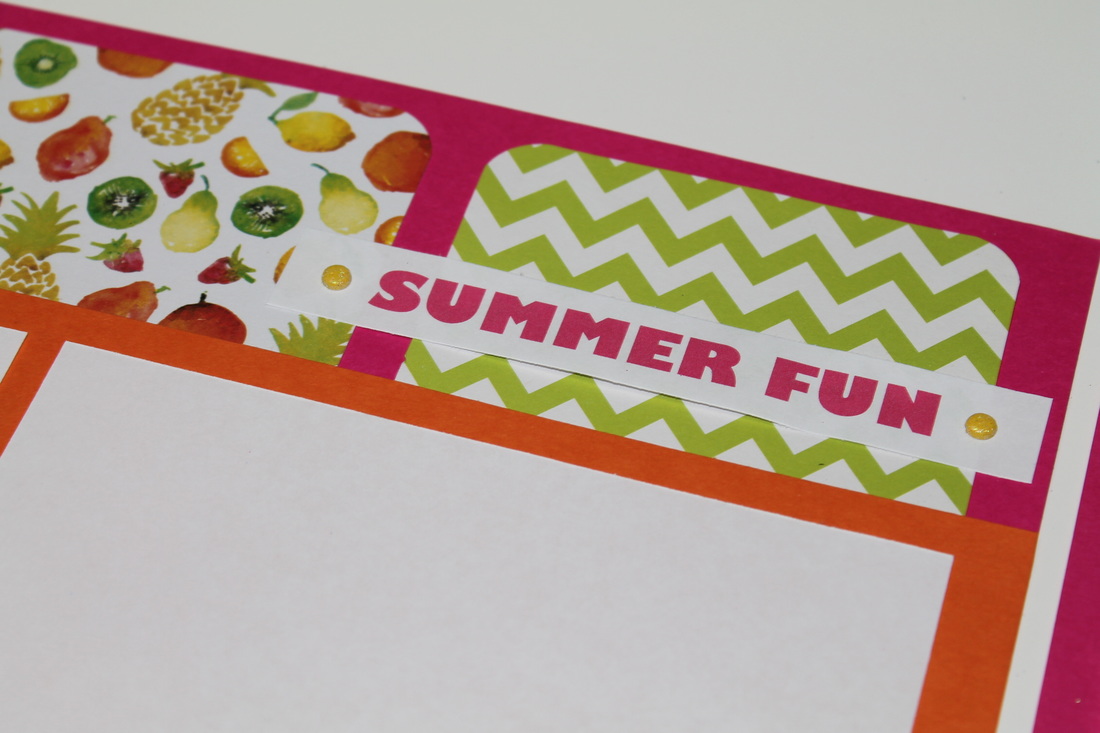
2. Use Waffle Flower Alphabet set, VersaColor black ink pad and a clear stamping block to stamp out greeting on cream paper
Then, cut around each letter.
Then, cut around each letter.
 |  |
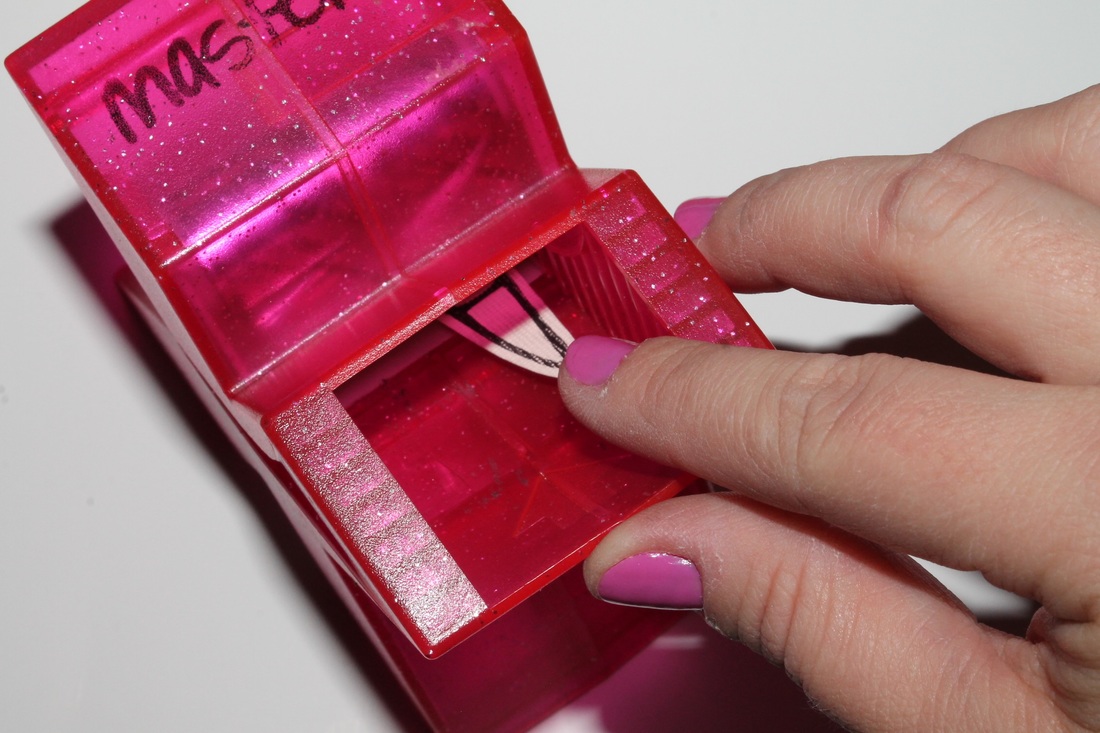
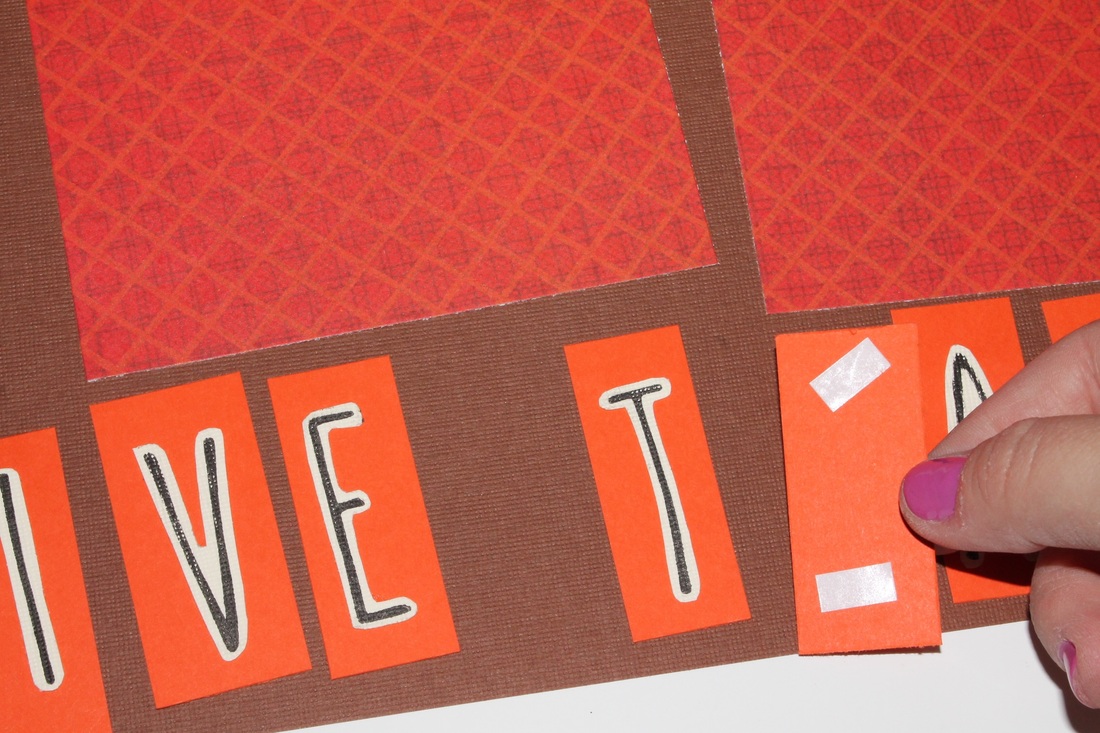
3. Run letters through the Xyron sticker maker then attach them to the solid orange paper. Cut each letter into a rectangle and attach the rectangles to the first page underneath the four squares.
 |  |
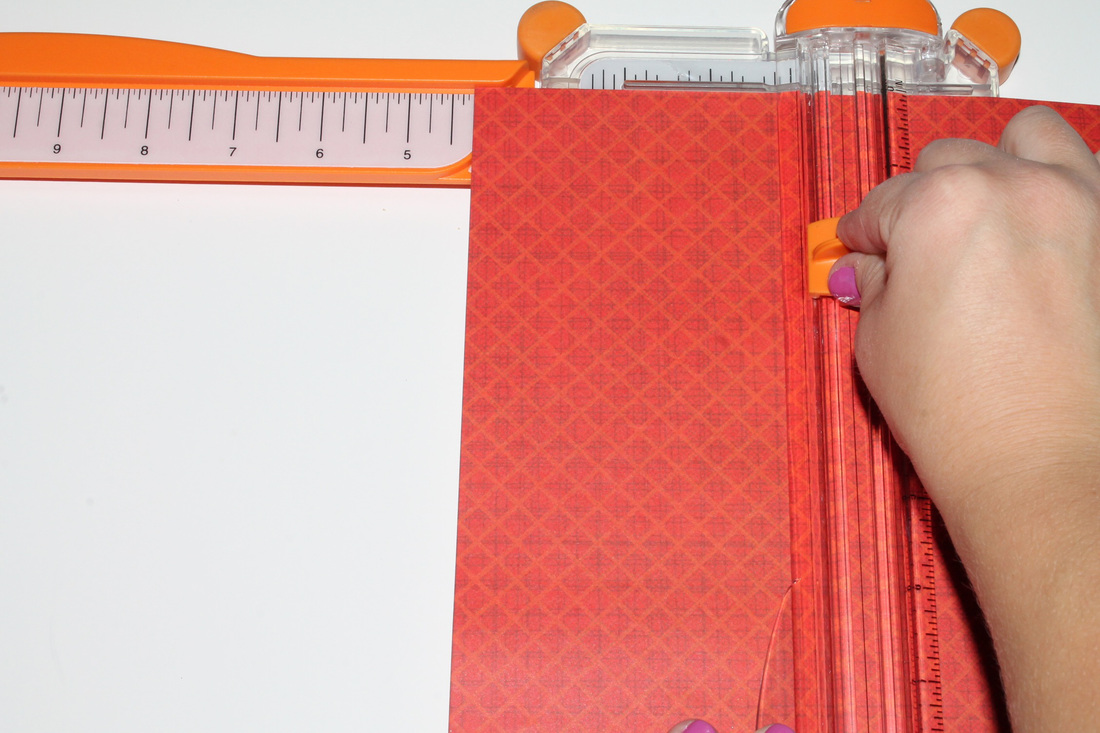
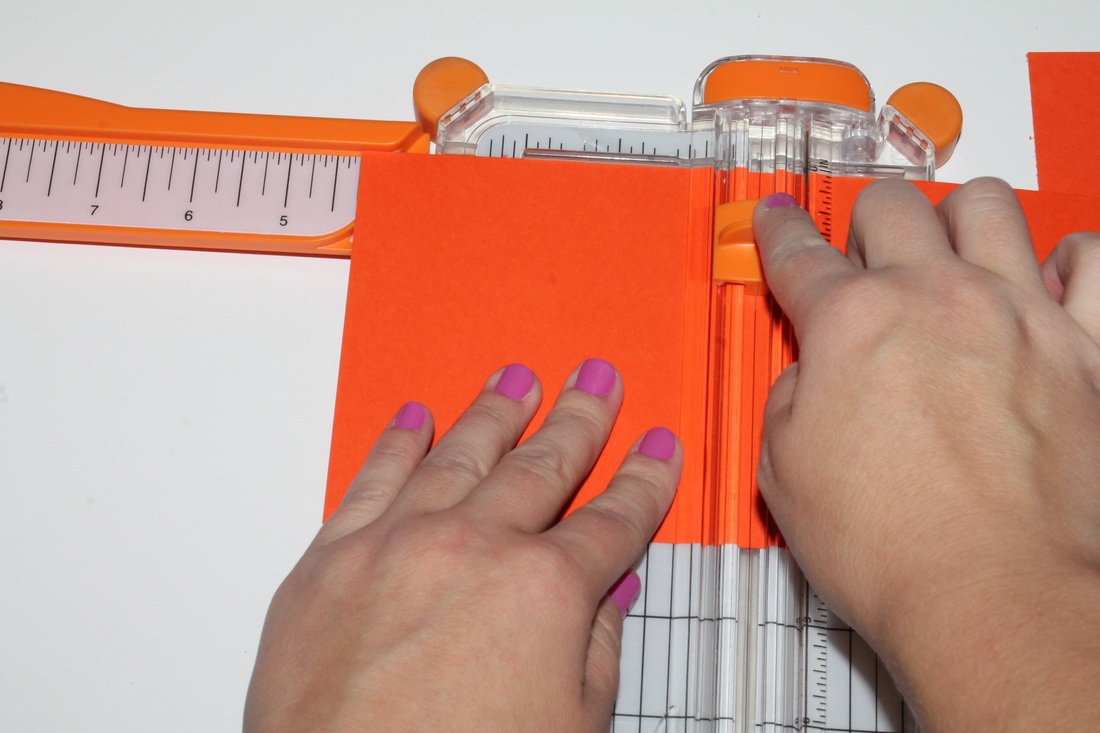
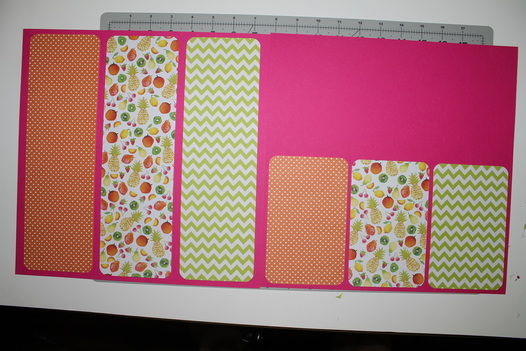
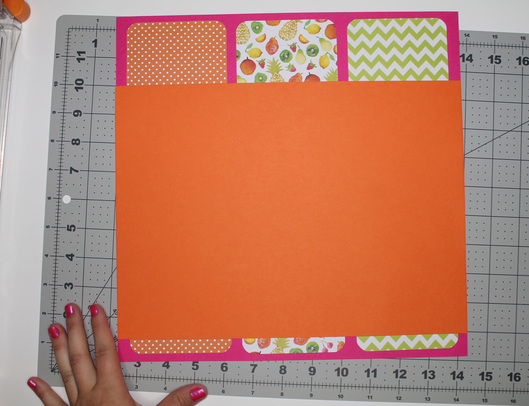
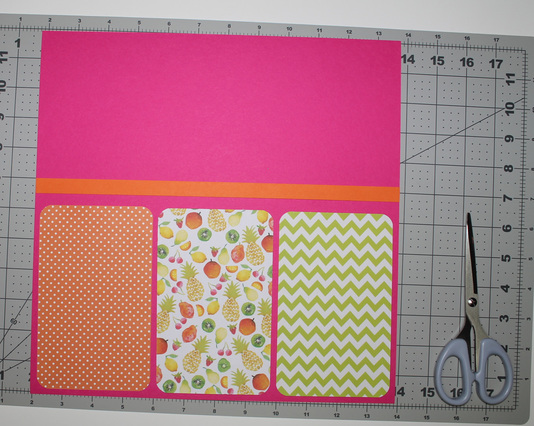
4. Use paper cutter to cut 8 4¼" x 4¼" squares out of the orange patterned paper. Cut 1 4¼" x 4¼" and 4 4½" x 4½" squares out of the solid bright orange paper. Cut 4 4½" x 4½" squares out of the yellow plaid paper.
 |  |
5. Attach 4 of the orange patterned squares to the 4 4½" x 4½" solid orange squares and attach them to the first page. Attach the other 4 orange patterned squares to the 4 4½" x 4½" yellow plaid squares and attach those to the second page. Attach the 4¼" x 4¼" solid orange square in the middle of the squares on the second page.
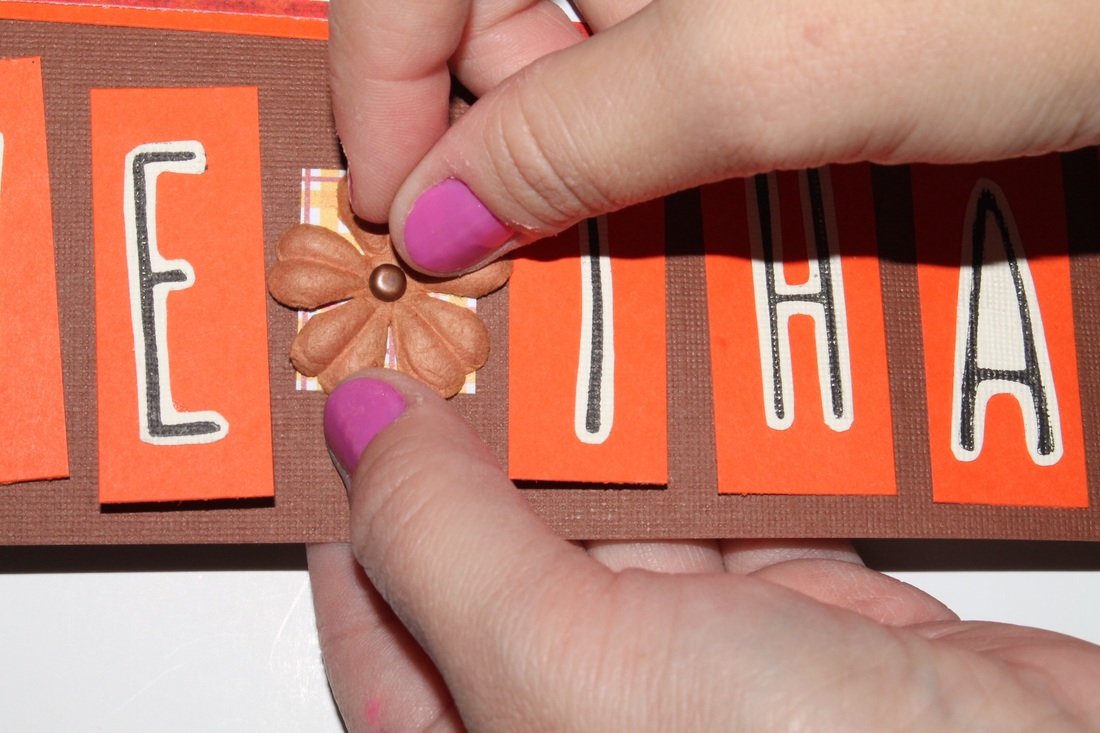
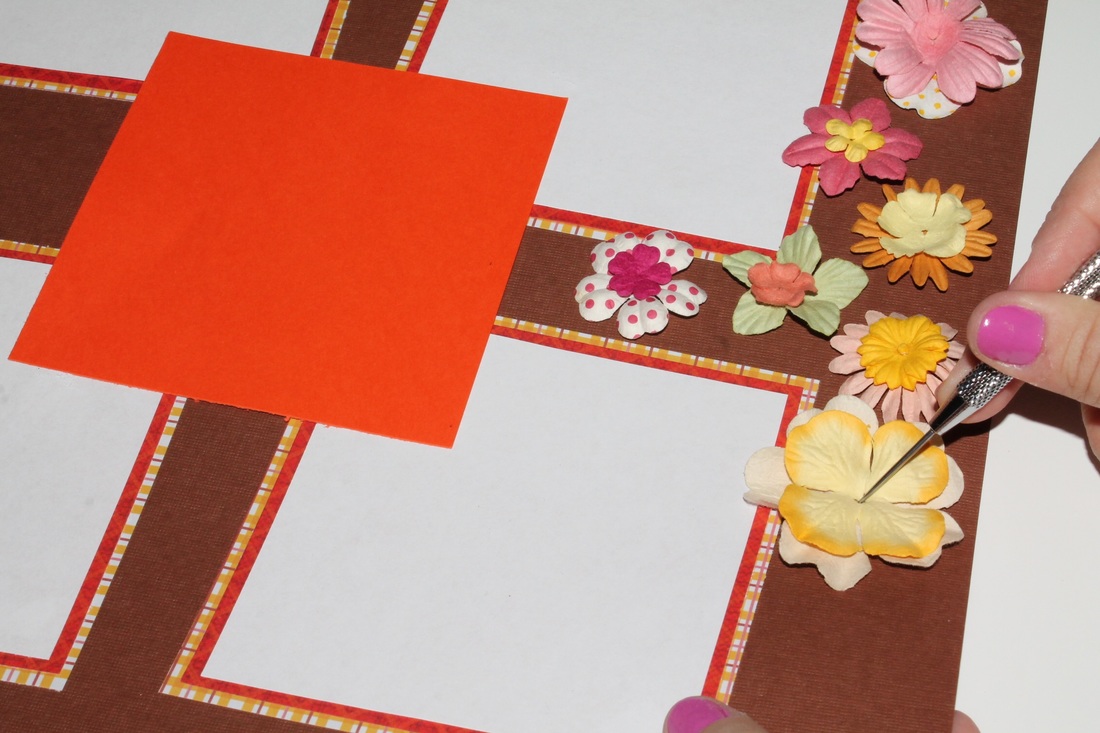
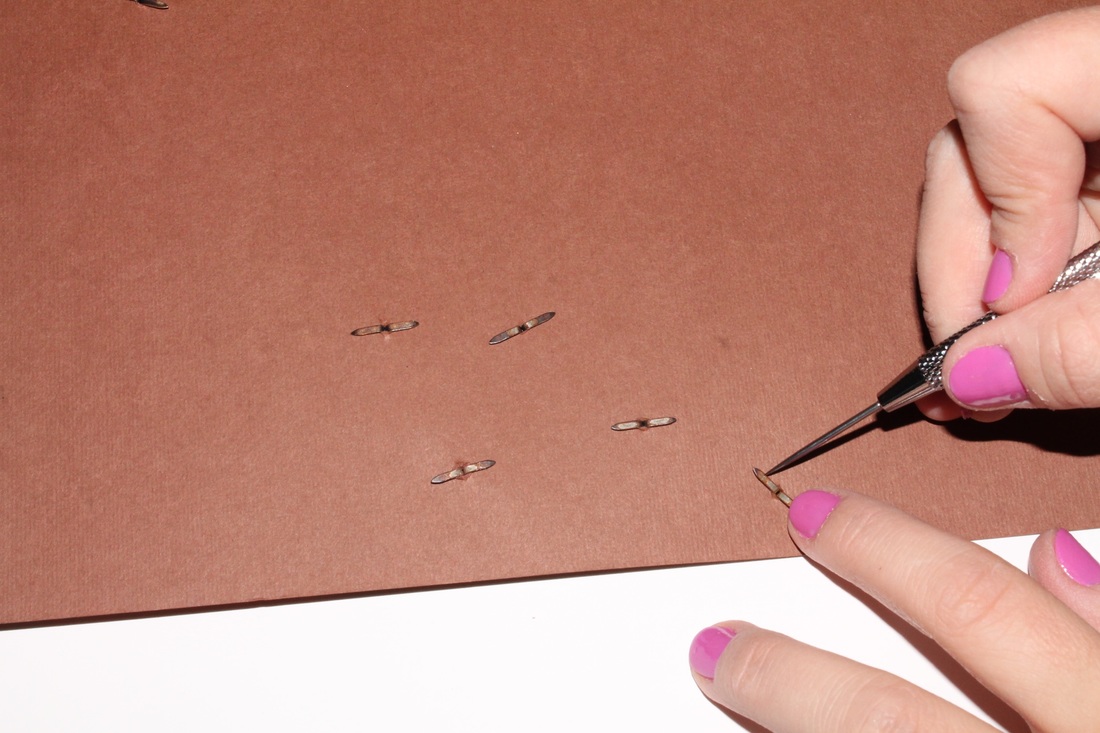
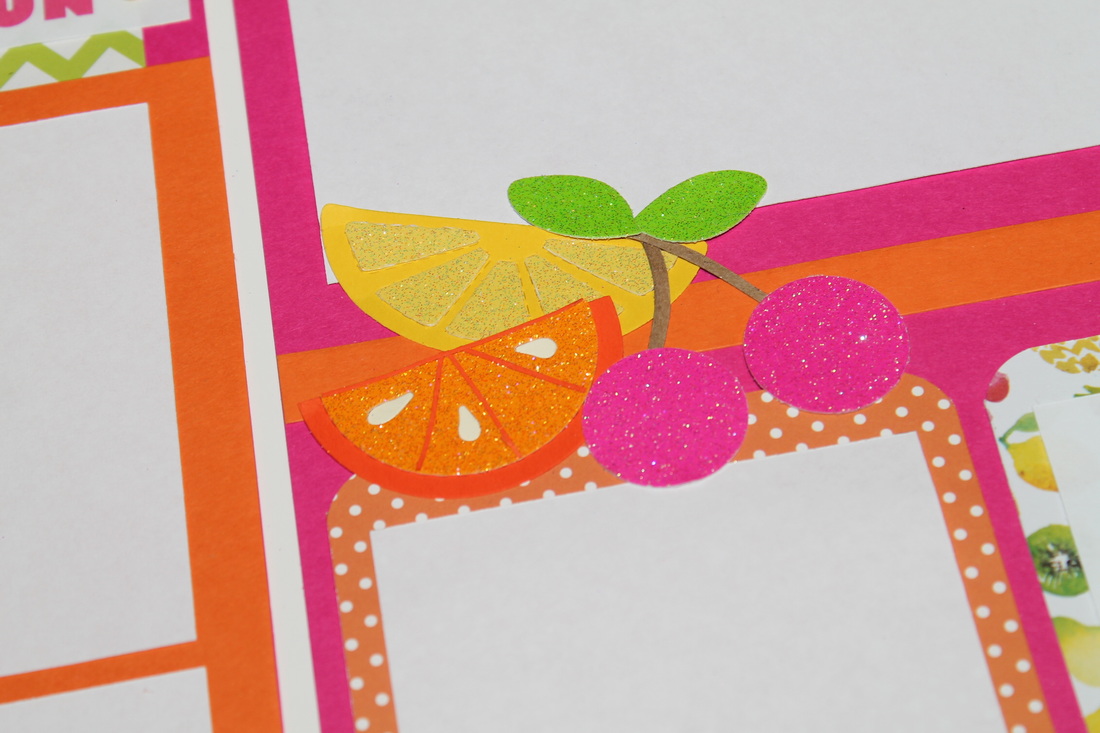
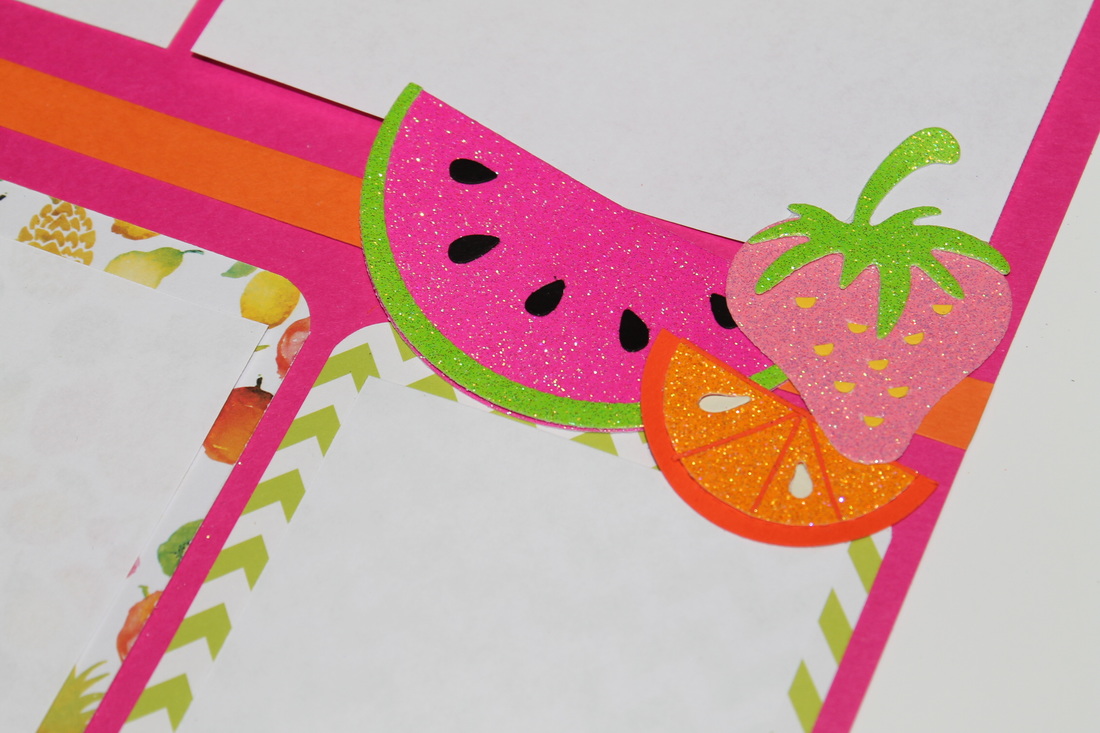
6. Position flowers onto both pages. Use paper piercer to poke a hole in the paper. Use brown brads to secure flowers to the page.
 |  |
 |  |
After securing all of the brads, this page is complete. The layered decorative papers will accent your square photos while the various flowers add a decorative touch to your pages. If you don't like to complicate your layouts with too many elements, using embellishments is a quick and easy way to add an elegance to your layout.

 The white squares are on the pages to hold the place for photos. You can order 4" x 4" square prints from Snapfish, so you don't have to worry about cutting your 4" x 6" photos. | 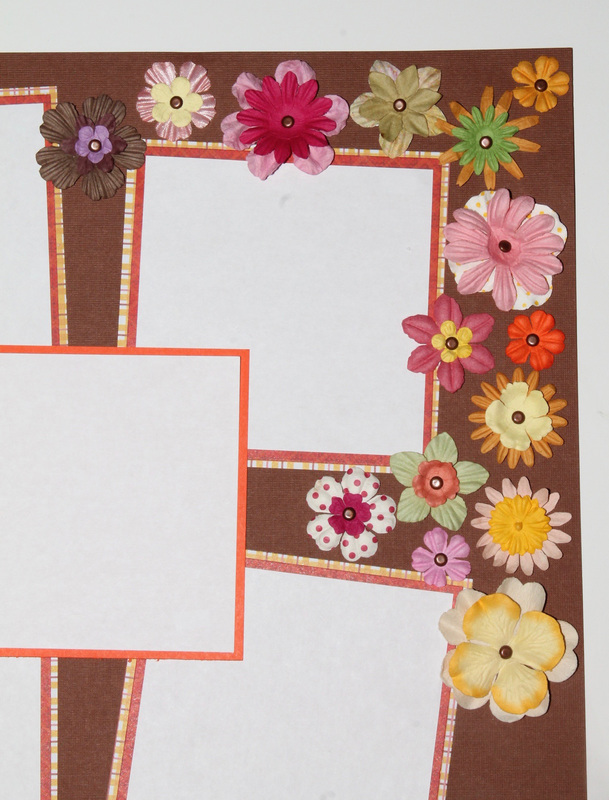 |


 RSS Feed
