With Winter approaching, I have a little more time to start scrapbooking again. I like to stay in on cold days, and what better way to spend the time than to scrapbook? I had a fun and eventful summer, which means I have lots of memories to get into my scrapbook. I wanted to re-create this layout I had previously done for my Thanksgiving 2011 page. This layout will be perfect for your summer photos. It is bright and glittery; one of my favorite combinations. Enjoy!
What you will need:
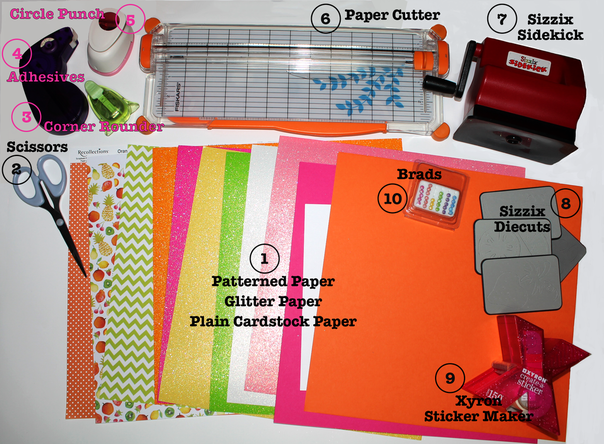
| 1. Paper Orange Polka Dot Paper - Michaels Fruit paper - DCWV "Watercolor" paper pack - Hobby Lobby Green Chevron paper - Paper Studio - Hobby Lobby All Glitter paper - Doodlebug - Hobby Lobby Pink & Orange cardstock - Paper Studio - Hobby Lobby 2. Scissors 3. Corner Rounder tool 4. Adhesives 5. 1" Circle Punch 6. Paper Cutter 7. Sizzix Sidekick machine 8. Sizzix Diecuts 9. Xyron Sticker Maker 10. Brads |
What you do:
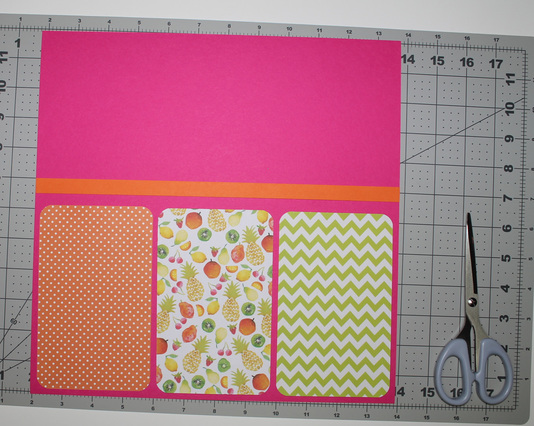
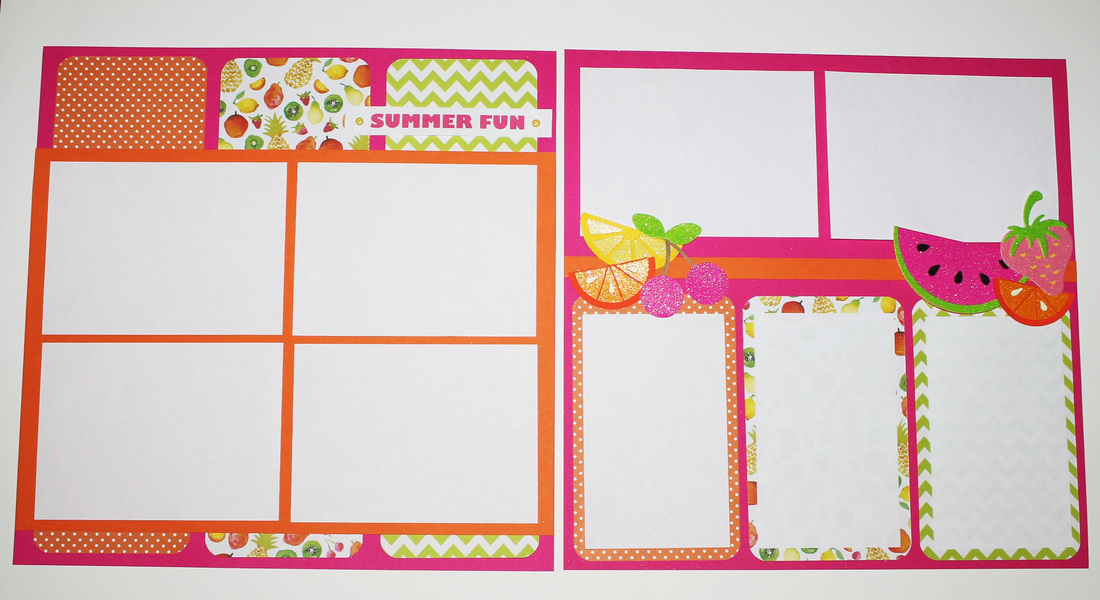
1. Start with your base, two 12" x 12" pieces of pink paper

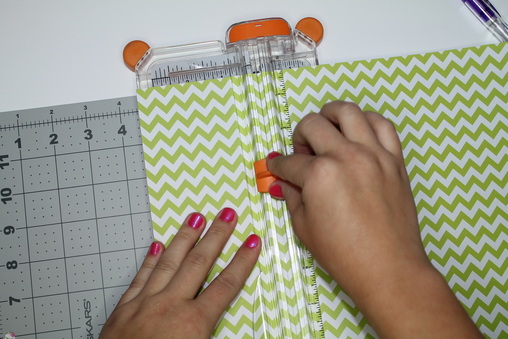
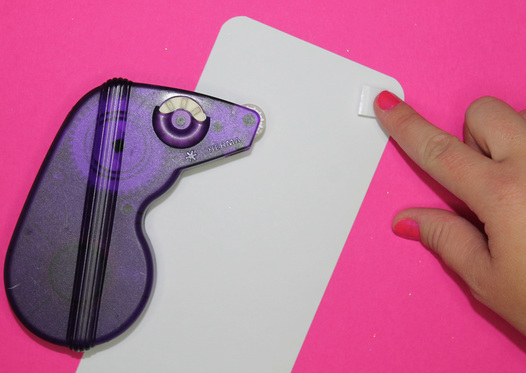
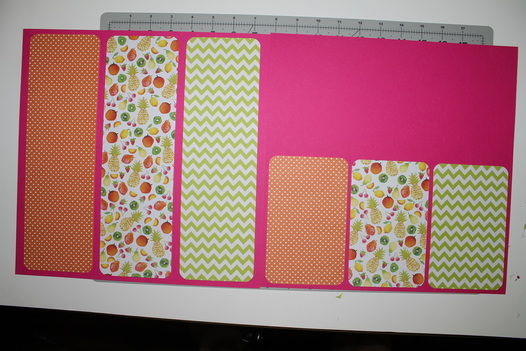
2. Cut the three patterned papers into 3½” x 11½” strips. Then cut three more strips with the same paper. The second set of strips will be 3¾" x6". Then, round the corners of each strip with a corner rounder tool.
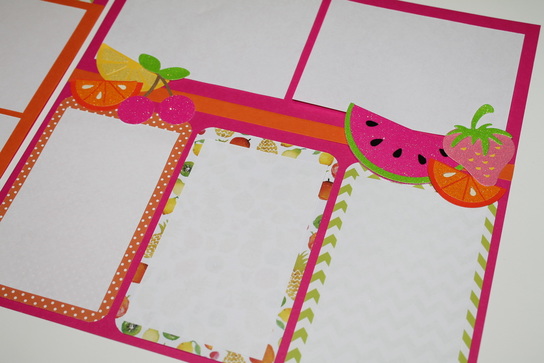
3. Place all of the strips on the page with adhesives. The three longest strips will go on the first page. The three smaller strips will go at the bottom of the second page. You can space them apart however you would want.
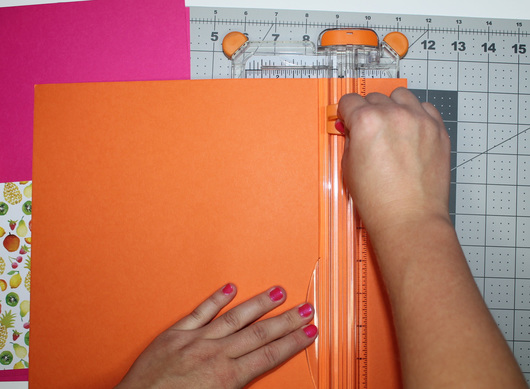
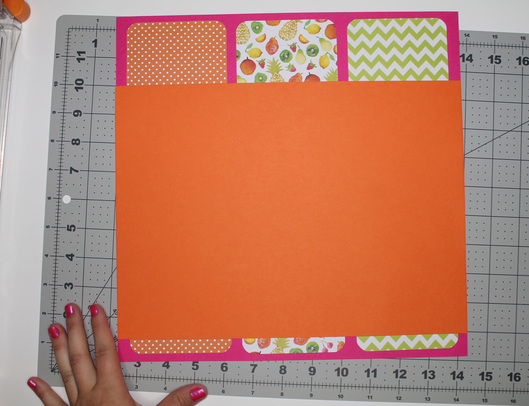
4. Cut the orange paper into a 11” x 8 ¾” square. Then cut a 12” x ½” strip with the same orange paper. Use adhesives to attach these to the page. The square goes on the first page near the bottom of the page. The strip goes above the three small strips on the second page.
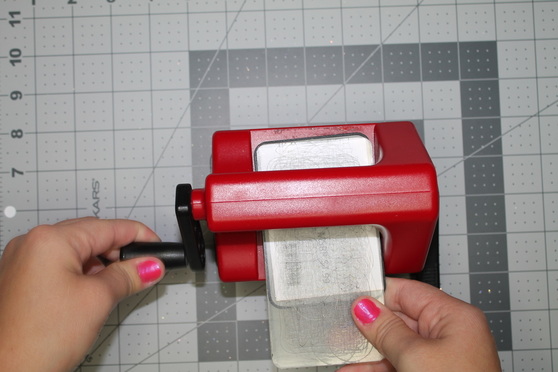
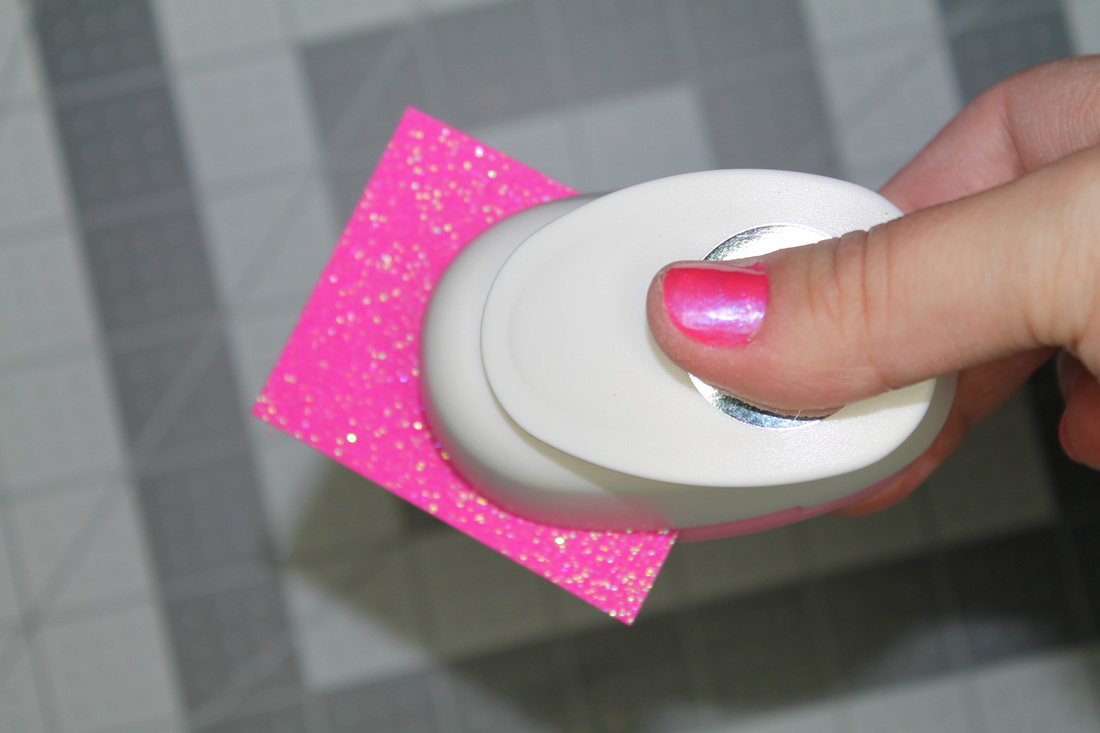
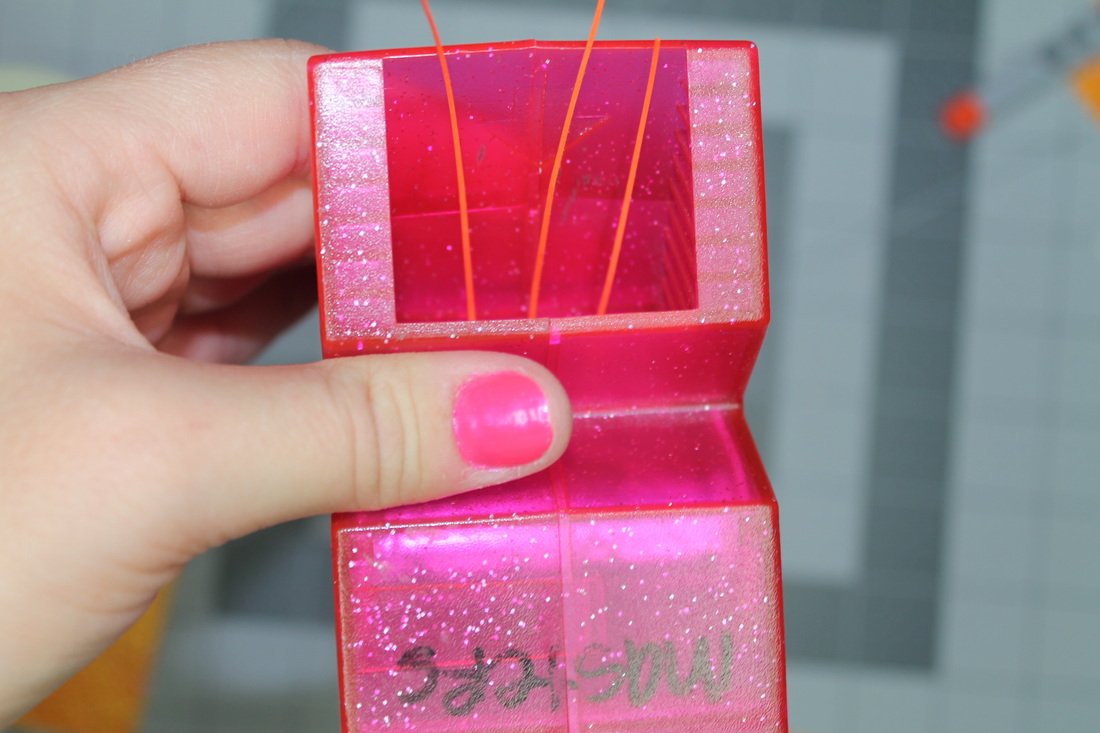
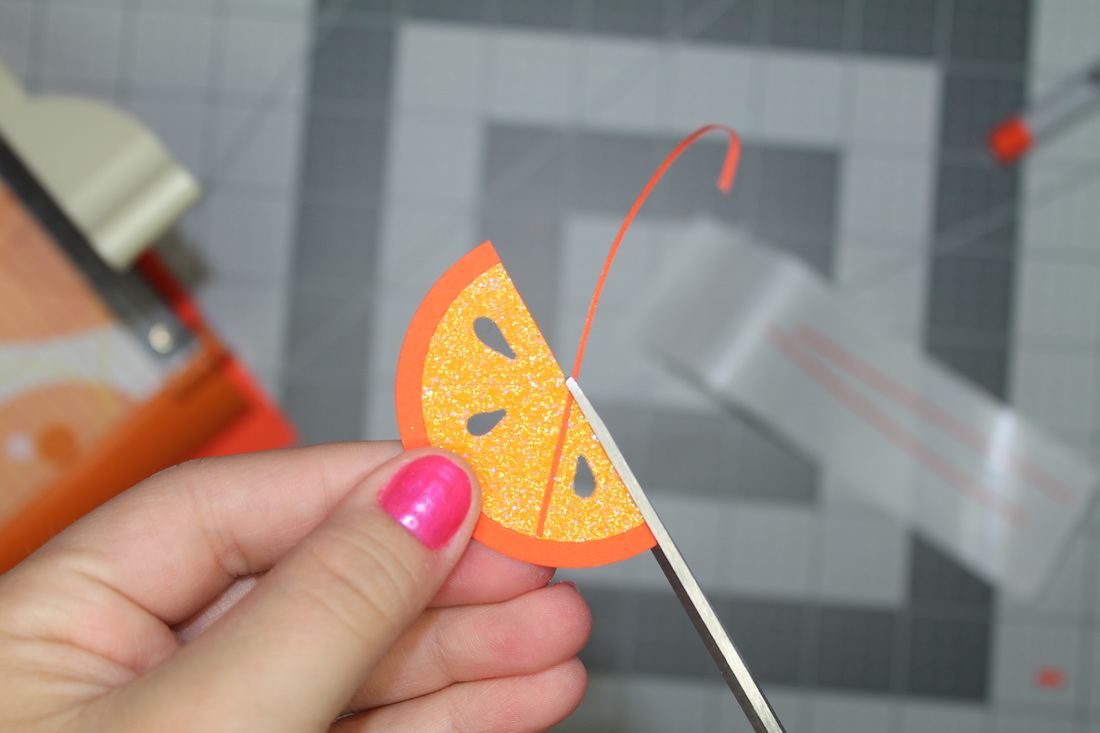
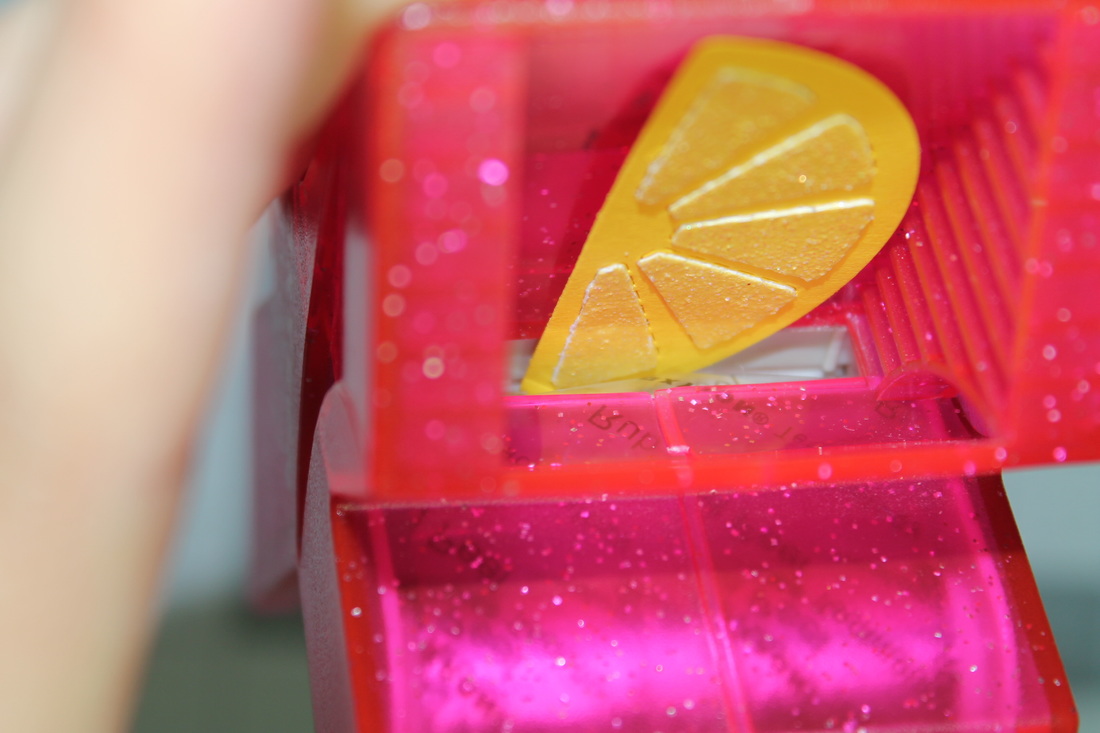
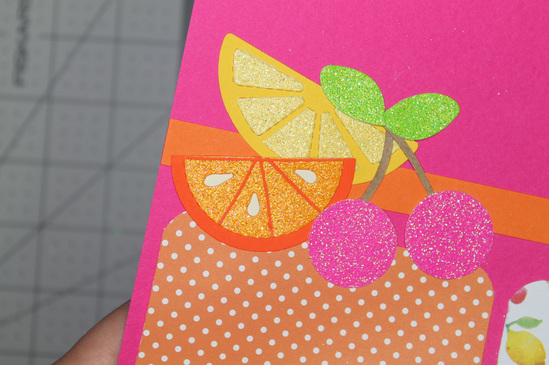
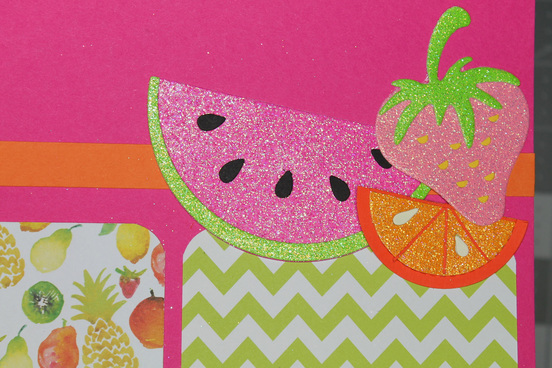
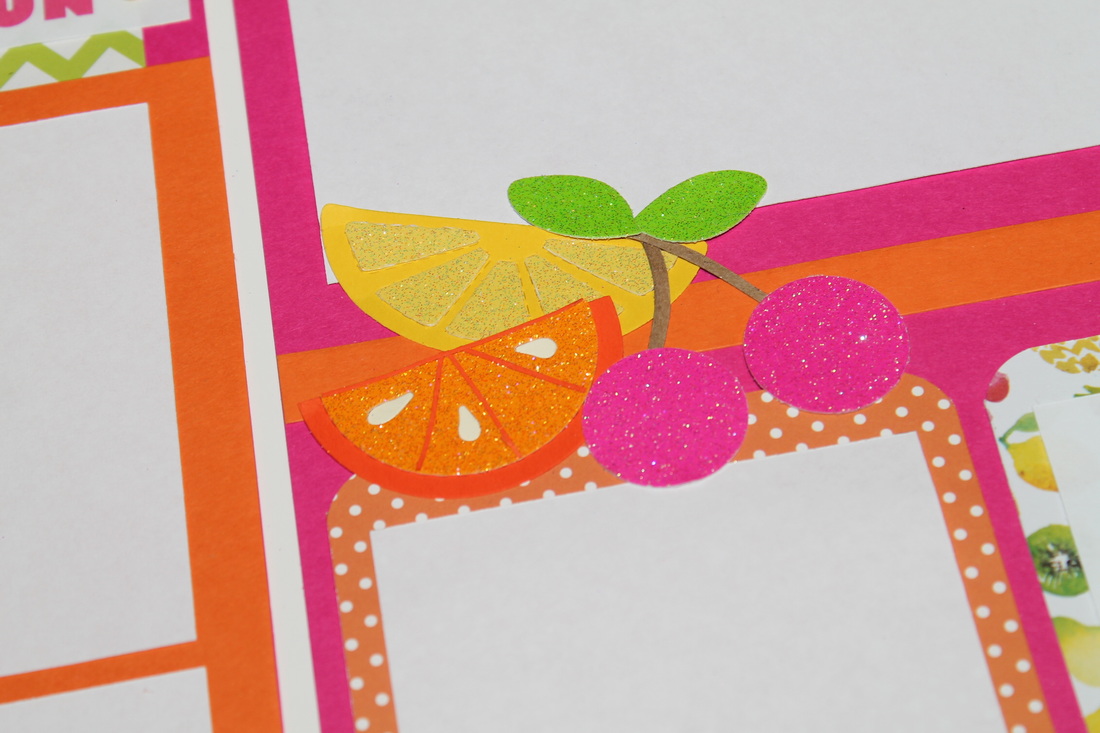
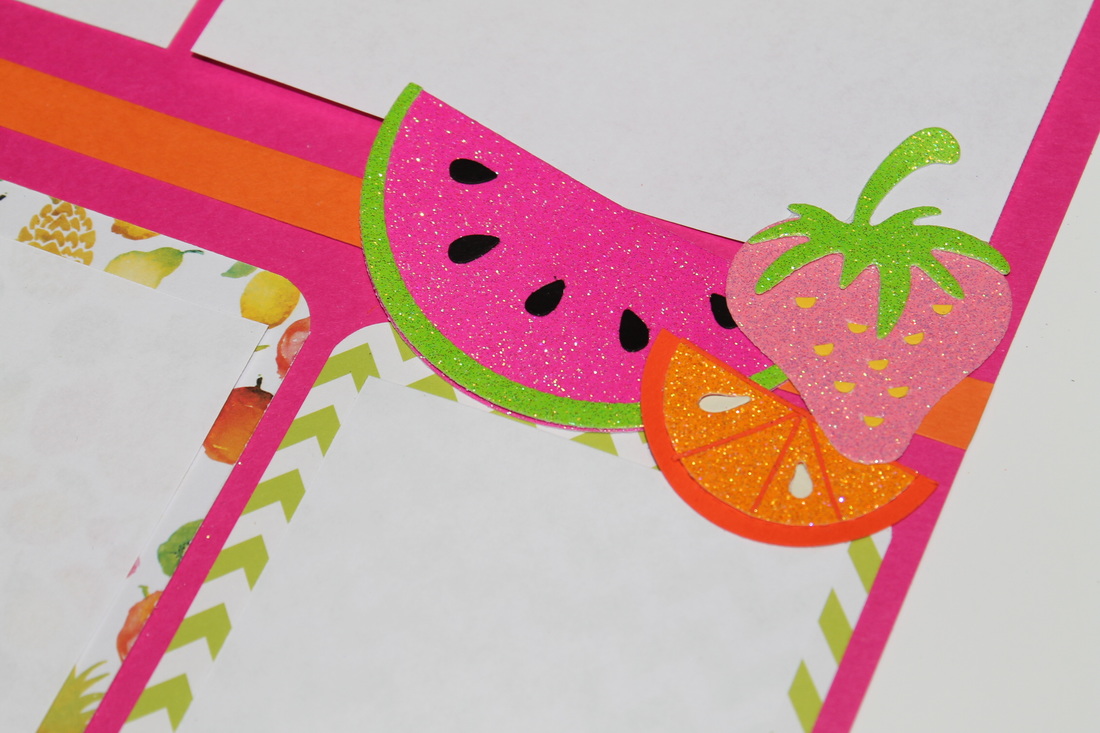
5. Use a Sizzix Sidekick diecut machine to cut out all of the fruit. Place the paper glitter side down on the diecut. Put a cutting pad on each side of the diecut and roll through machine. I used a couple different colors for each piece of fruit to add dimension. The diecuts I have are for a orange/lemon, watermelon and strawberry. I used a circle punch and a leaf diecut to make the cherries. I cut the stems freehand from a brown scrap paper.
 |  |
*If you don't have a sizzix machine, you can draw your own fruit or find something online then cut it out. Circuit machines also are a great option, I just don't have one. But, I definitely want one!
*I don't think they make the Sidekick anymore, but Sizzix.com has bigger machines.
*I don't think they make the Sidekick anymore, but Sizzix.com has bigger machines.
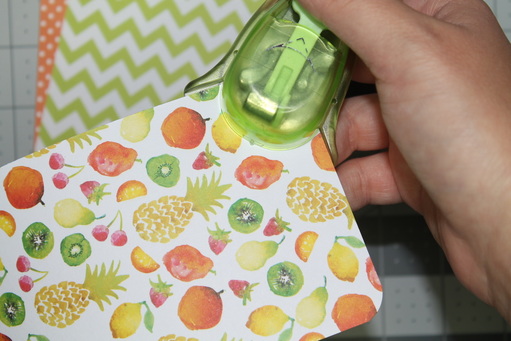
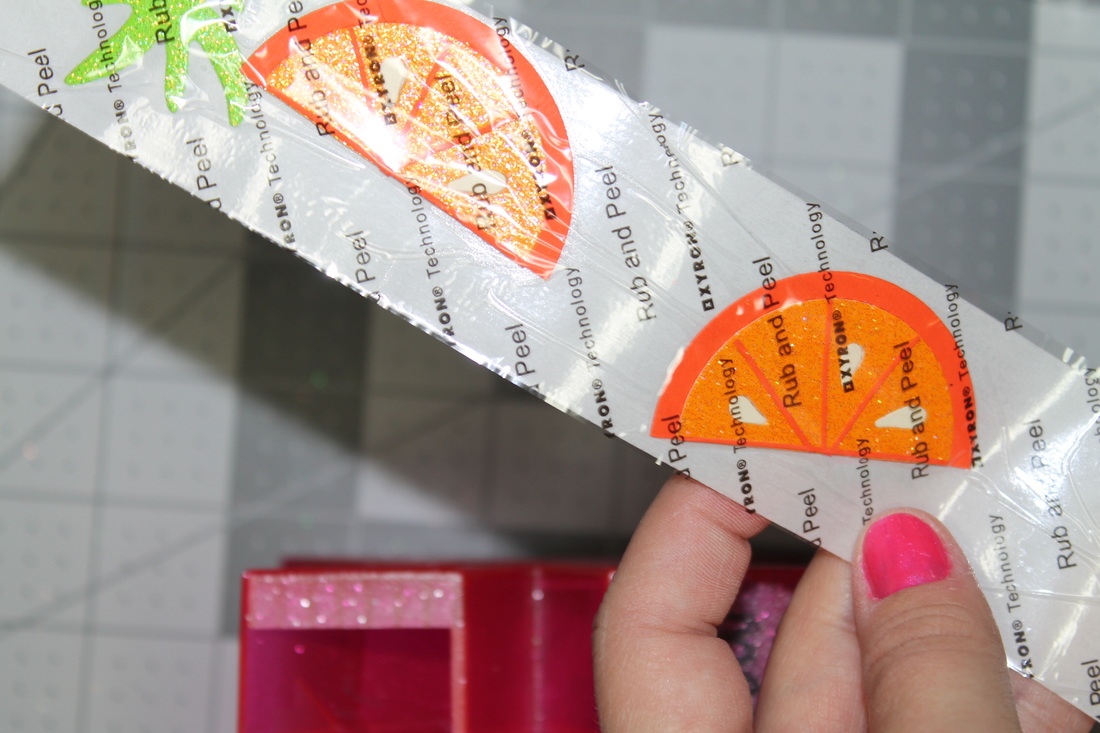
6. Use the Xyron sticker maker to attach the fruit pieces together. The fruit goes right side up, so it creates a peel-off sticker. Always rub the paper really good before peeling off the film. Run the smaller fruit pieces through again. Use adhesives on the bigger fruit, then place the fruit along the orange strip on the second page.
 |  |
 |  |
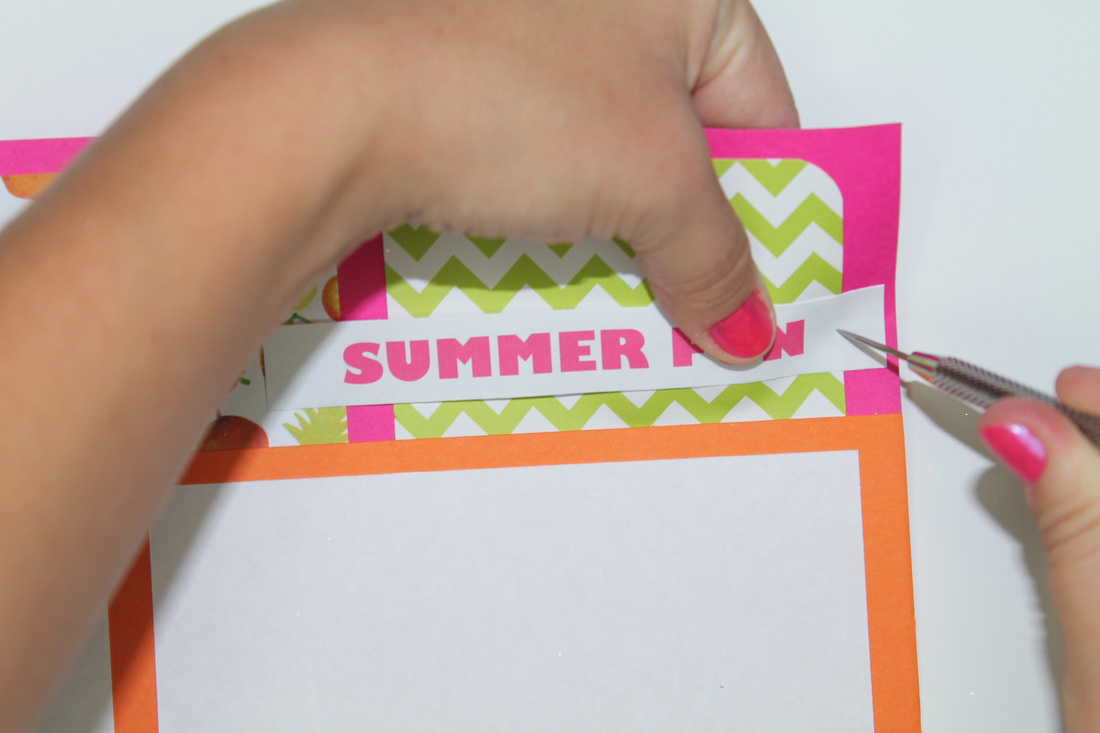
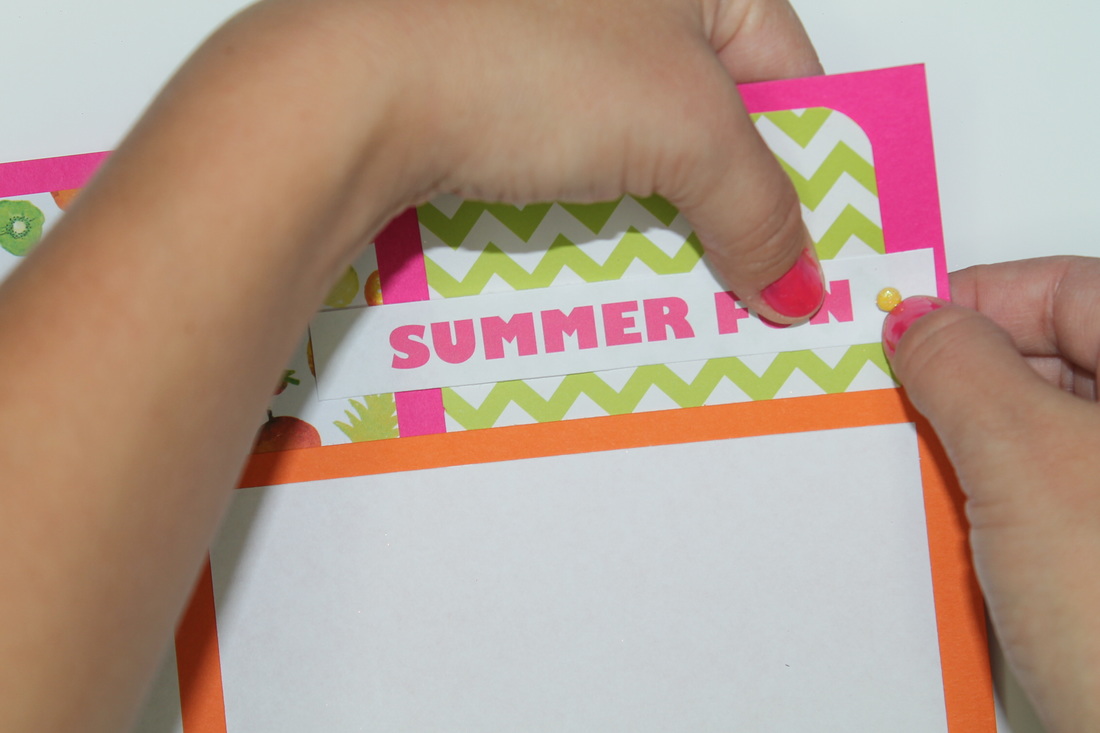
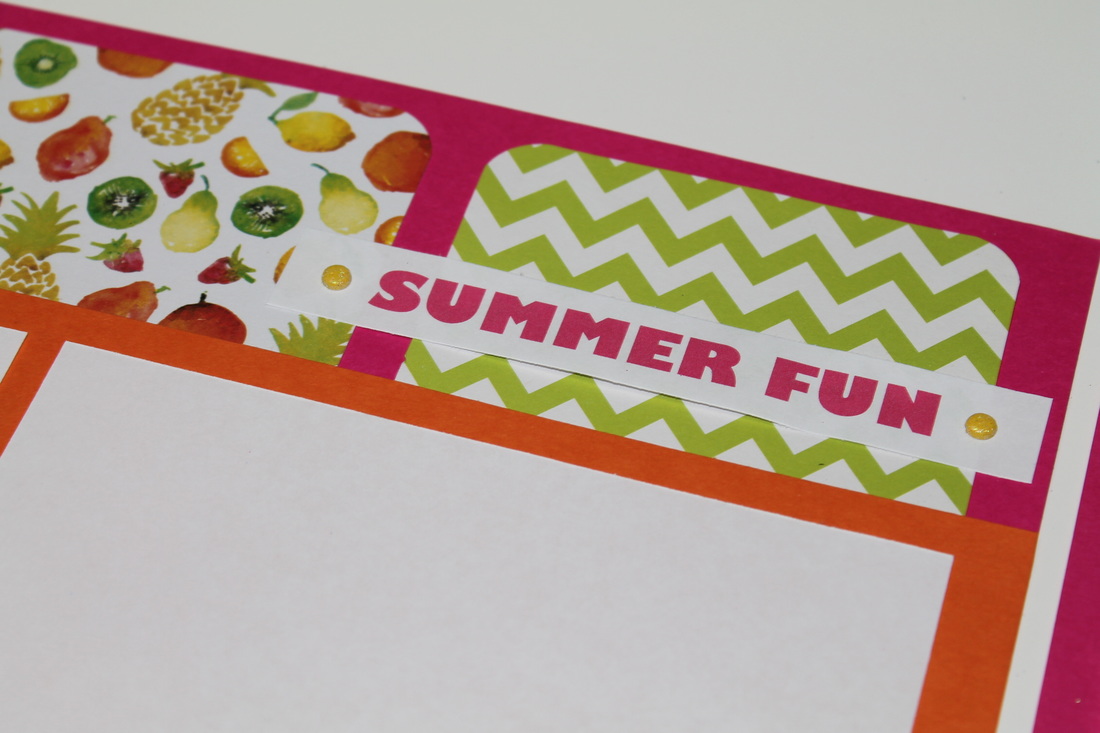
7. Type up your title phrase on the computer, print, then cut it to fit your page. I used a poker tool to make a hole for the two brads to secure my title in place.
 |  |
This page is done! The most time consuming part was cutting and assembling the fruit together. Other than that tedious task, this layout is simple and doesn't take long to put together. In total it took me an hour and a half.
 |  |  |
The white rectangles are on the page to hold the place of photos. The size of the rectangles are listed below, so you can cut your photos to size.

I hope you liked this glittery, summer fruit and colorful layout.
Let me know if you try it!
Let me know if you try it!
 RSS Feed
